Modules
Section tools
The section box in CERQA's 3D BIM viewer slices through the model so you can inspect specific levels, areas, or interior geometry without the surrounding mass in the way. This page covers how to activate it, how to drag the handles to shape the cut, and how it combines with M-01's level isolation for compound views.
This piece covers the section box
You can also take point-to-point measurements in the BIM viewer; the measure control sits in the same toolbar as the section box. For measurement on 360 captures (distance, area, height), use Vision's 4-mode Beta measurement suite, covered in VS-03 - Vision annotations & measurements.
The section box
The section box is a six-faced bounding volume. The viewer shows only the geometry inside the box; everything outside is clipped away. Drag a face inward to slice through the model on that axis; drag it back out to restore. The cut updates live as you drag, so you can shape the section to the inspection you need.
The section box is open to anyone who can see the model. No role gate, no setup. Useful when you want to look inside an enclosed space (a stair core, an interior room, a structural floor sandwich) without the surrounding geometry in the way.
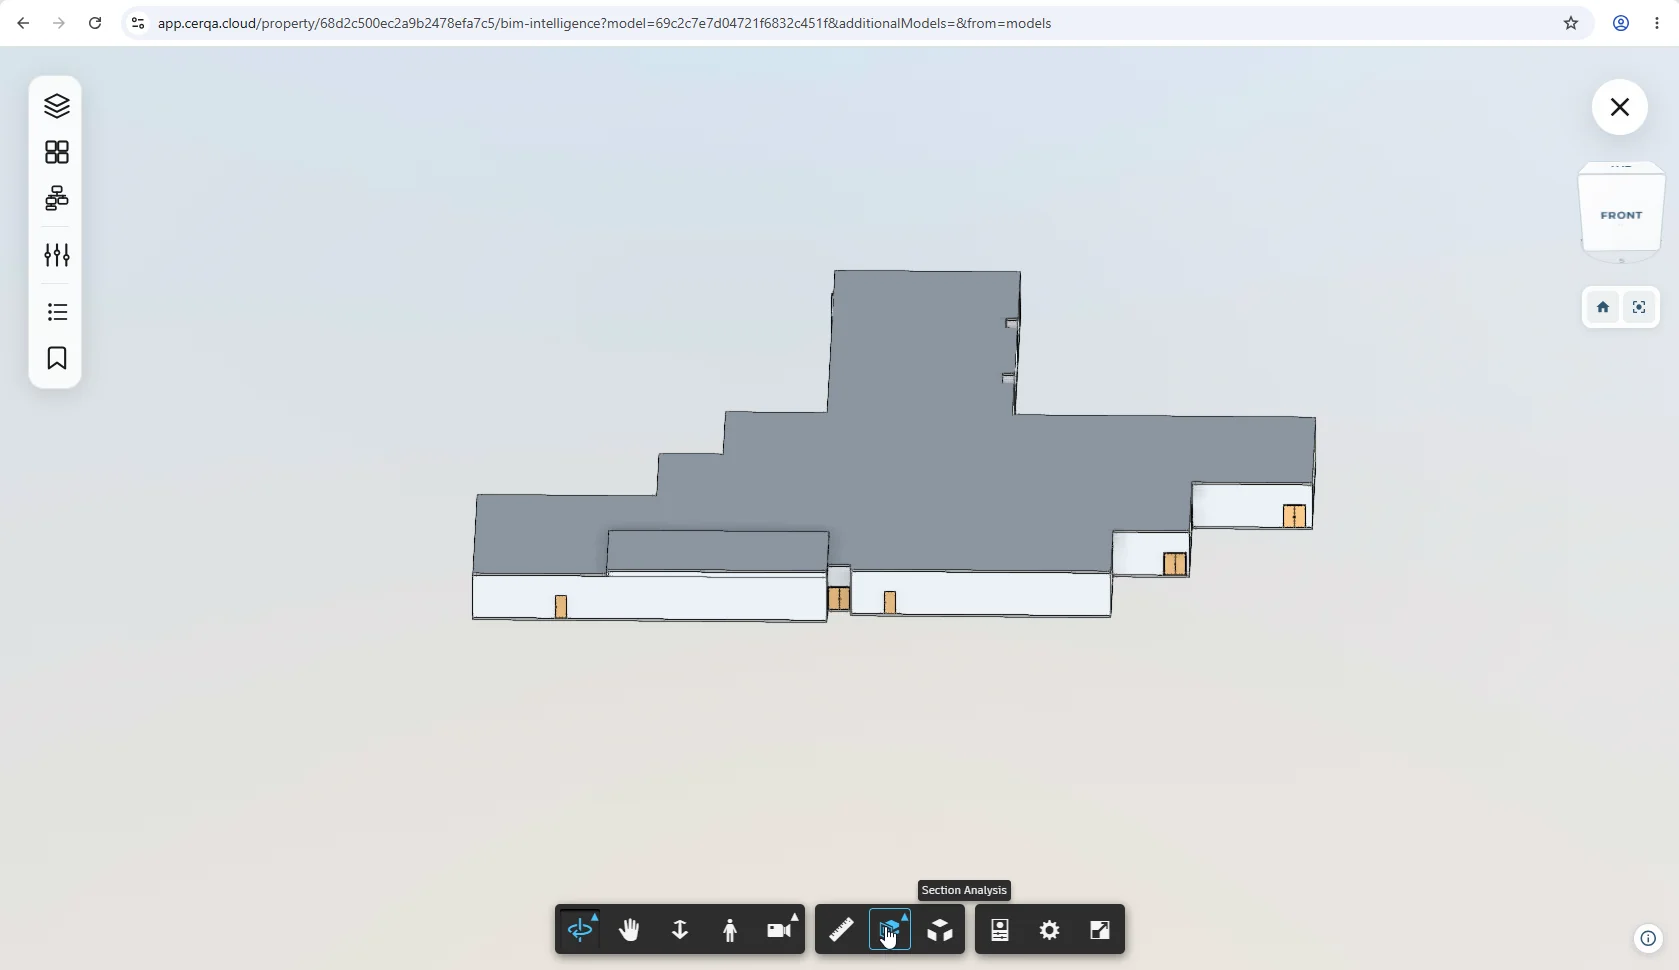
Activating and manipulating the section handles
From the BIM viewer toolbar, click the section-box control. The six-faced bounding box appears around the visible model with a handle on each face. From there, the workflow is drag-driven:
- 1Drag a face to slice - Grab any face handle and drag it inward. The face moves; the model is clipped on that face's axis as it moves. Release to keep the cut where you placed it.
- 2Combine multiple faces - Drag a second face on a different axis to compound the cut. You can shape the visible volume as tightly as you need by combining drags across two or three axes.
- 3Restore a face - Drag a face back out to expand the visible volume on that axis. To reset everything, deactivate the section tool from the toolbar and reactivate it.
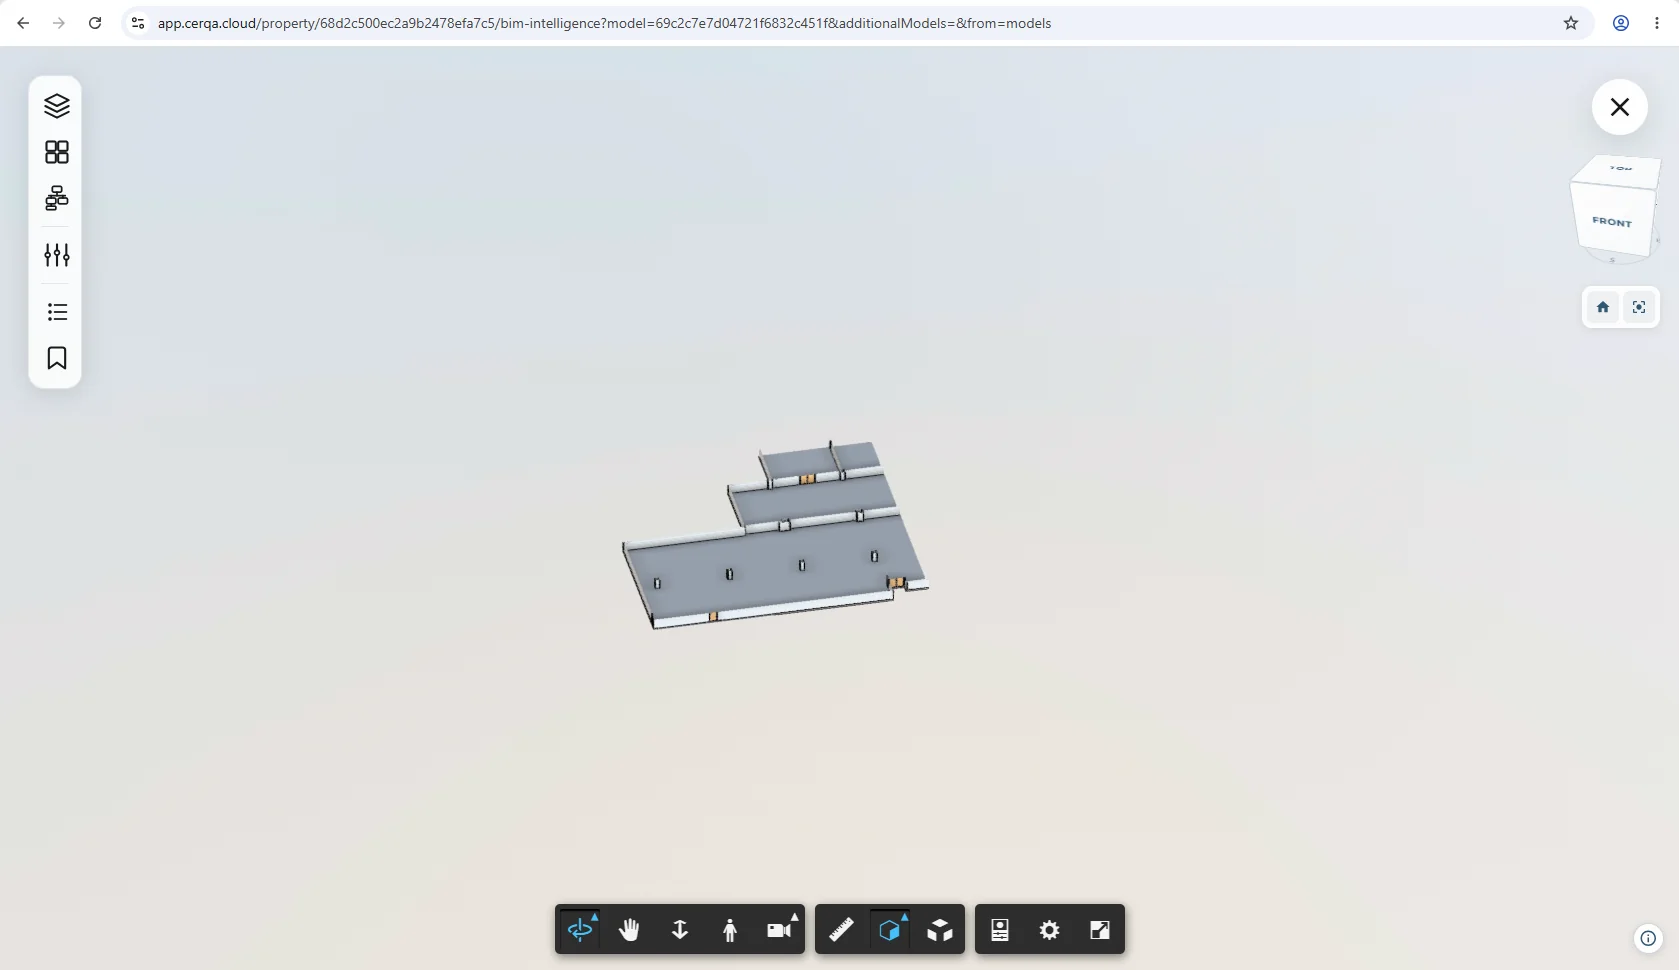
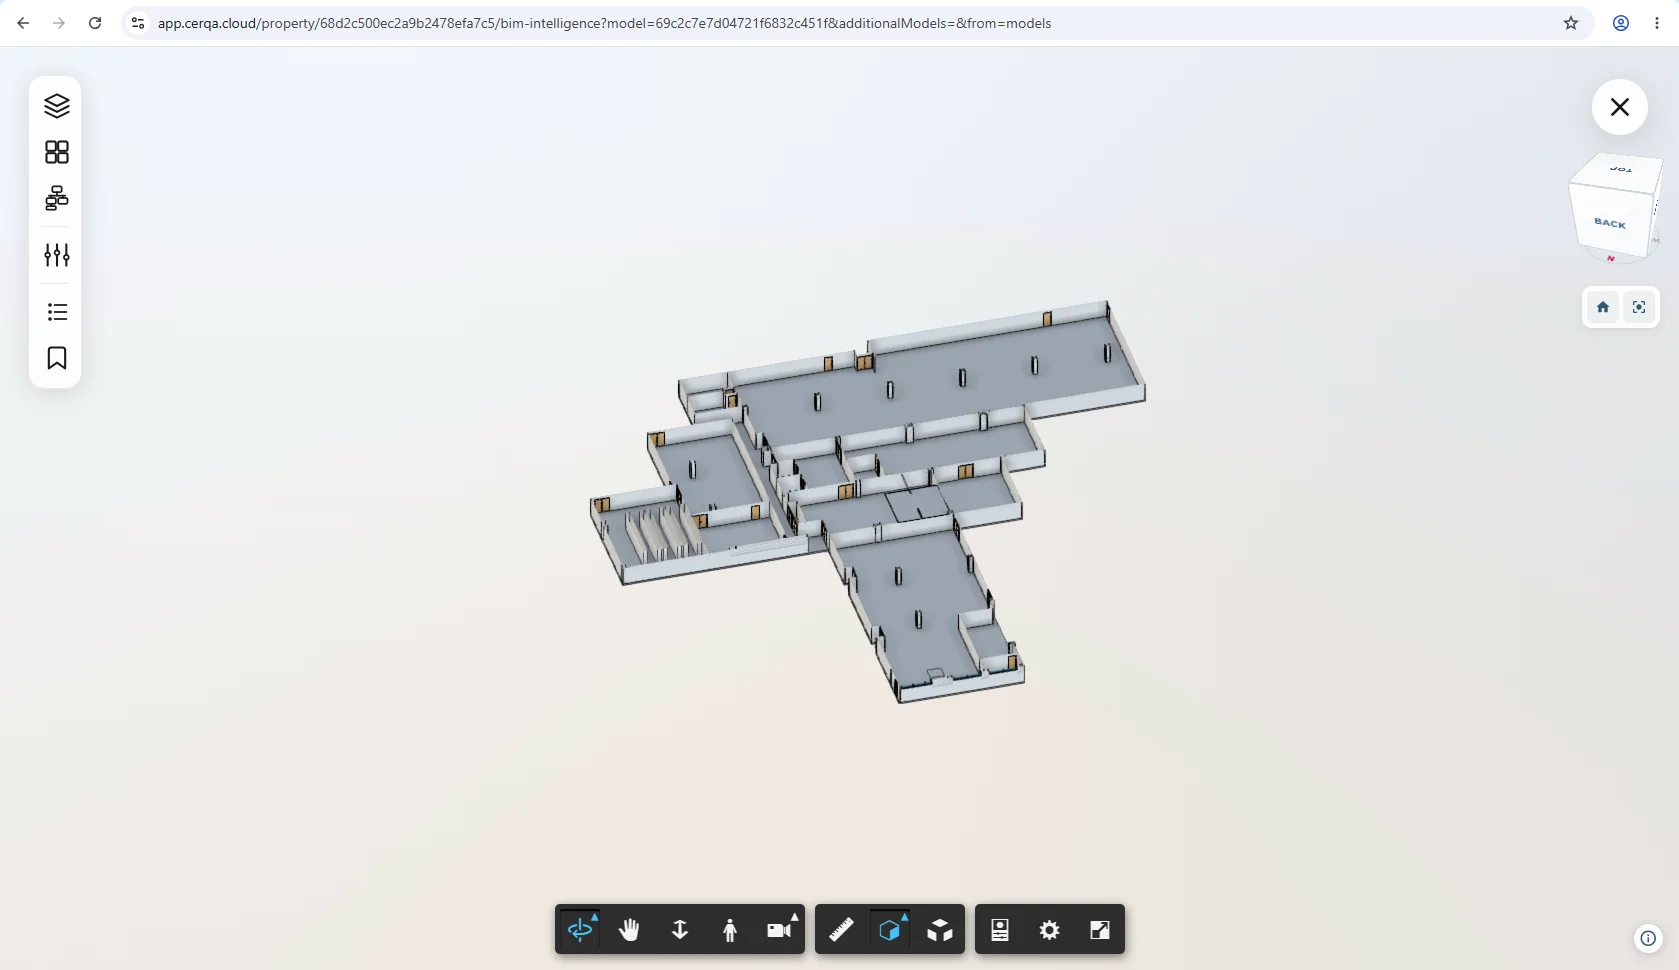
Combining section box with level isolation
The section box composes with M-01's level-isolation control. Use the level selector to cut the model to a single floor first, then activate the section box and slice further into that level. The result is a compound cut: floor isolated above and below by the level cut planes, and a specific area within that floor isolated by the section box. Useful for inspecting one room or one structural bay without either the floors above and below or the rest of the level in the way.
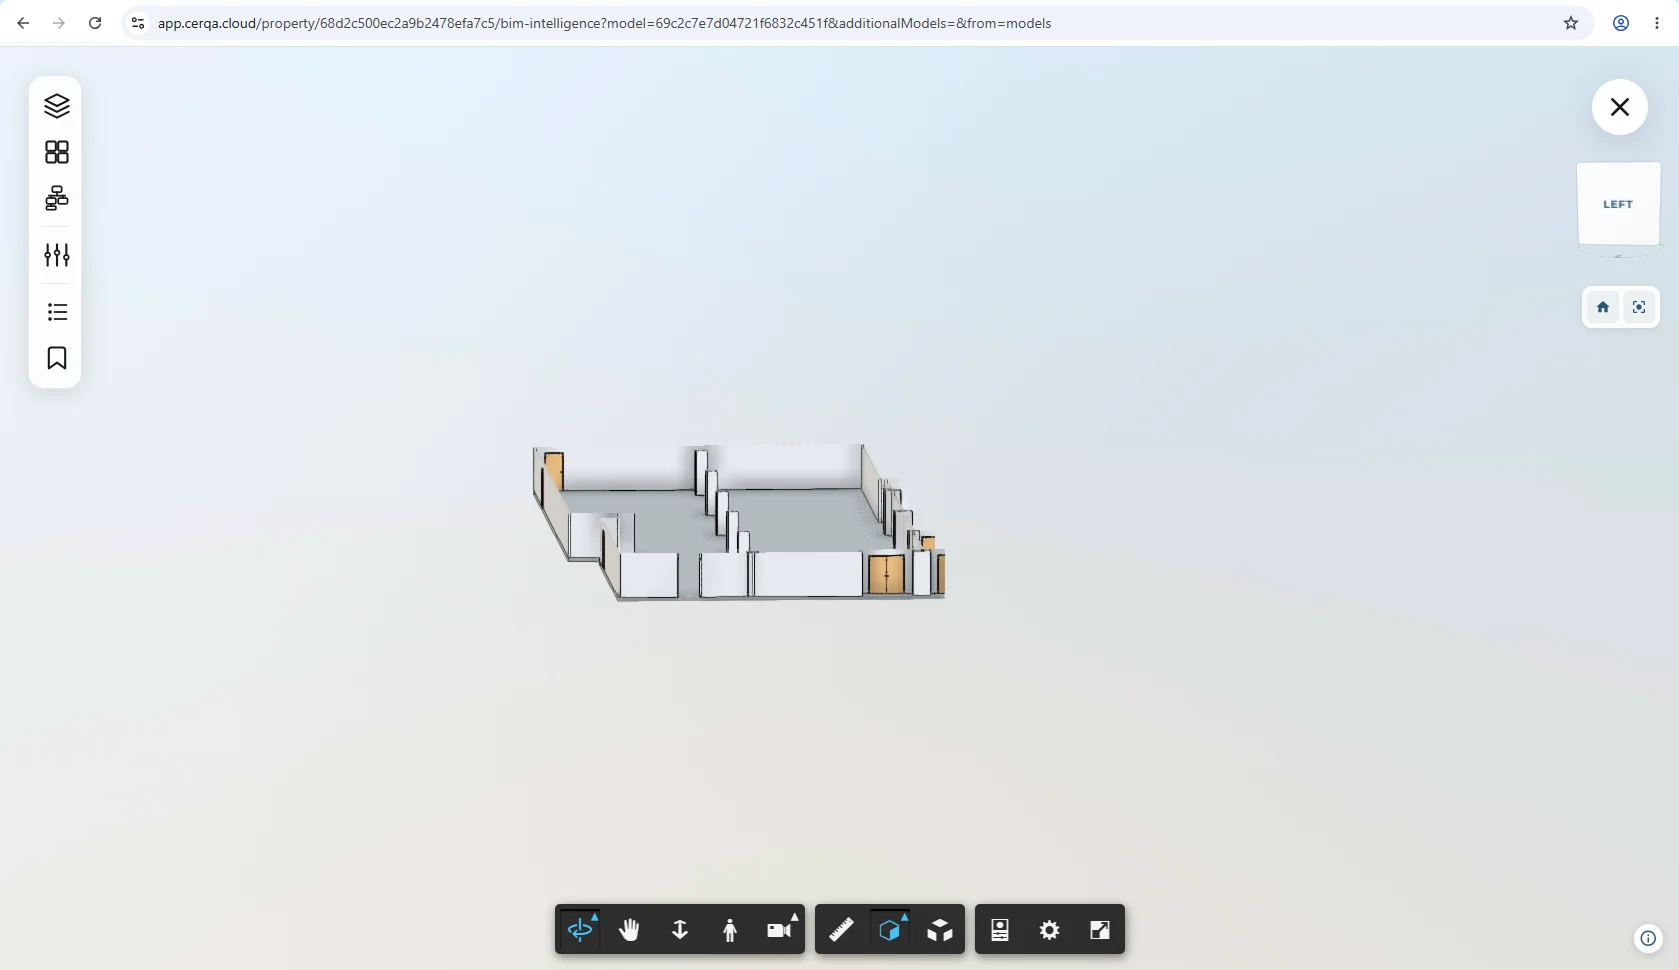
For the level-isolation control and the rest of the BIM viewer's spatial tools (orbit, pan, zoom, Workset and Phase filters, the BIM Intelligence panels), see M-01 - 3D Model Viewer overview.
Related pieces
- M-01 - 3D Model Viewer overview - the base walkthrough of the 3D viewer; the section box composes with M-01's level isolation, Workset / Phase filters, and BIM Intelligence panels.
- M-03 - Model sets & multi-model coordination - the section box also works across multi-model sets; useful for clash review when several models are loaded together.
- VS-03 - Vision annotations & measurements - the 4-mode Beta measurement suite on 360 captures. Use VS-03 when you need distance, area, or height in numbers on a 360 view.
- F-04 - Roles and permissions - the complete role matrix. The section box has no role gate; any property member who can see the model can use it.