Modules
3D Model Viewer overview
The Model tab on a property opens the 3D BIM viewer, the spatial surface for the Files & Models module. You orbit, pan, and zoom around the loaded model; isolate by floor; filter by Workset or Phase; browse the model tree; read element data through the BIM Intelligence panels; switch among the sheets and views built into the model; and save a view (open to any property member, including Viewer and Guest). This page is the overview of all of that. The 3D BIM viewer is distinct from Vision, the 360-photo walkthrough surface, which lives on its own tab and is covered in VS-01 - Vision & 360 walkthroughs overview.
Loading the model
Open a property from your sidebar and click the Model tab. The viewer loads the model defined for the property and shows it in the work area. The first frame after load shows the model from a default camera angle, with the viewer's control sidebar on the left and the viewer toolbar along the bottom.
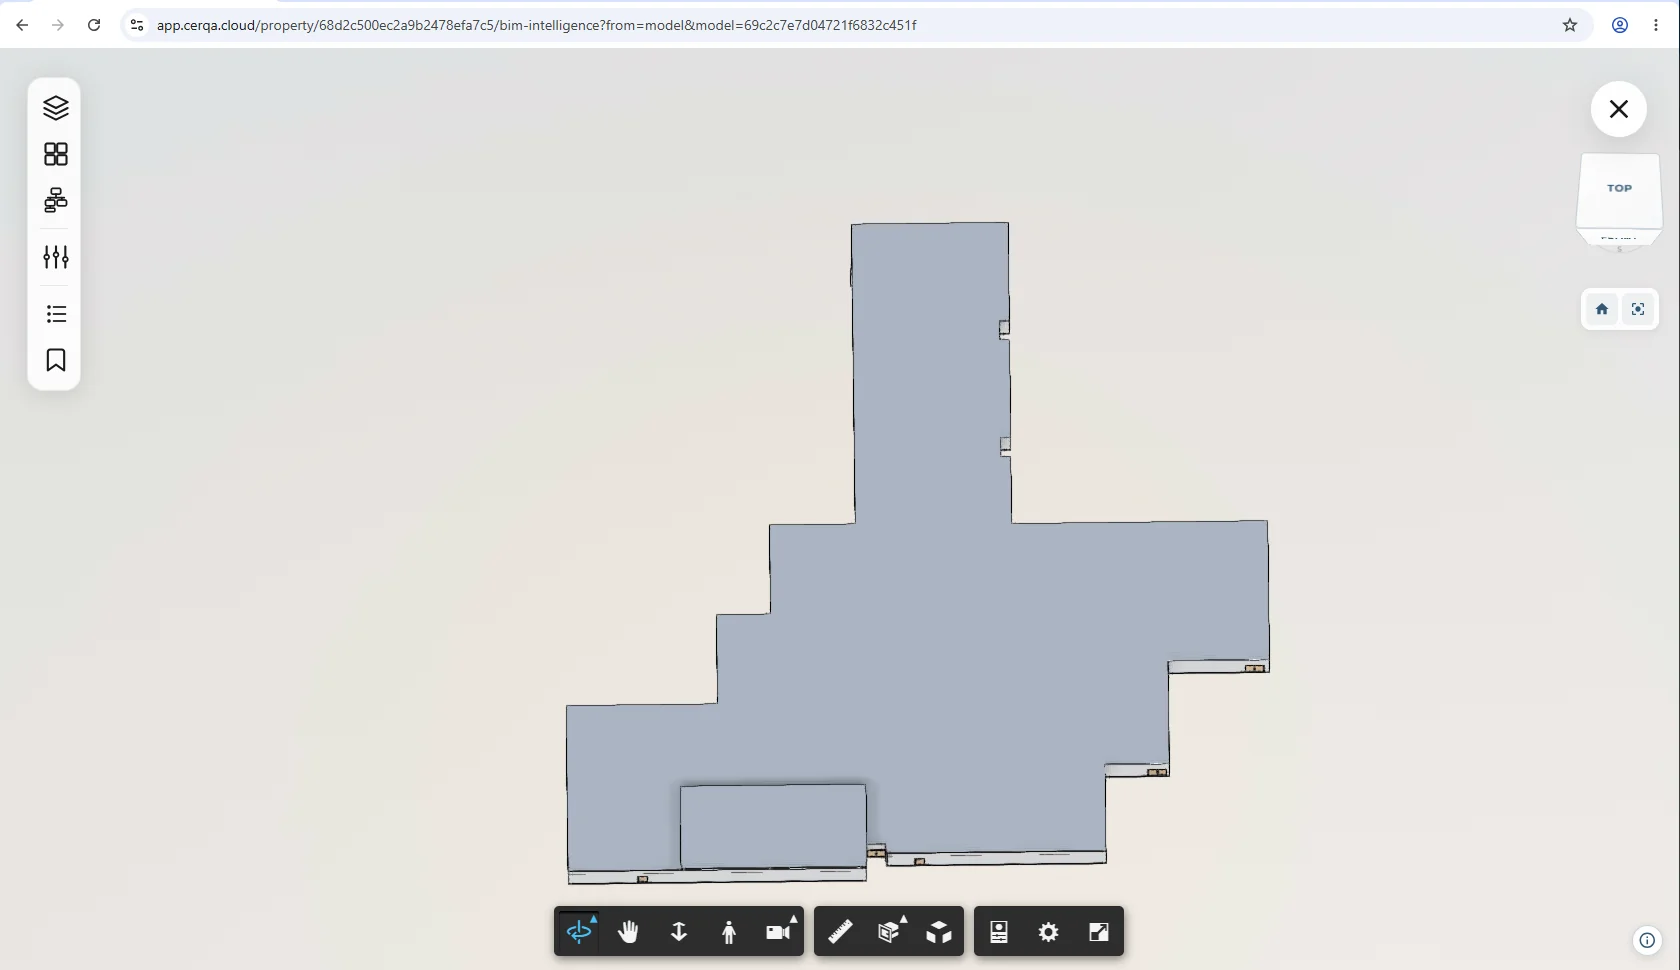
Revit files dual-surface with the Files tab
When a Revit .rvt file is uploaded via the Files tab, it surfaces on both the Files tab AND the Model tab on the same property once the model finishes processing. Same underlying file, two presentation surfaces: Files for sharing and markup, Model for 3D viewing. The module name Files & Models reflects this dual nature. For the Files side, see D-01 - Files & Models module overview.
Spatial navigation
Three controls move you through the model:
- 1Orbit - Drag with the primary mouse button to rotate the camera around the model. Useful for inspecting an element from multiple angles without changing your zoom level.
- 2Pan - Hold the middle mouse button (or use the dedicated Pan control in the viewer toolbar) and drag to translate the camera across the model.
- 3Zoom - Scroll the mouse wheel to move the camera in or out. On a trackpad, pinch to zoom. The zoom centers on the cursor position.
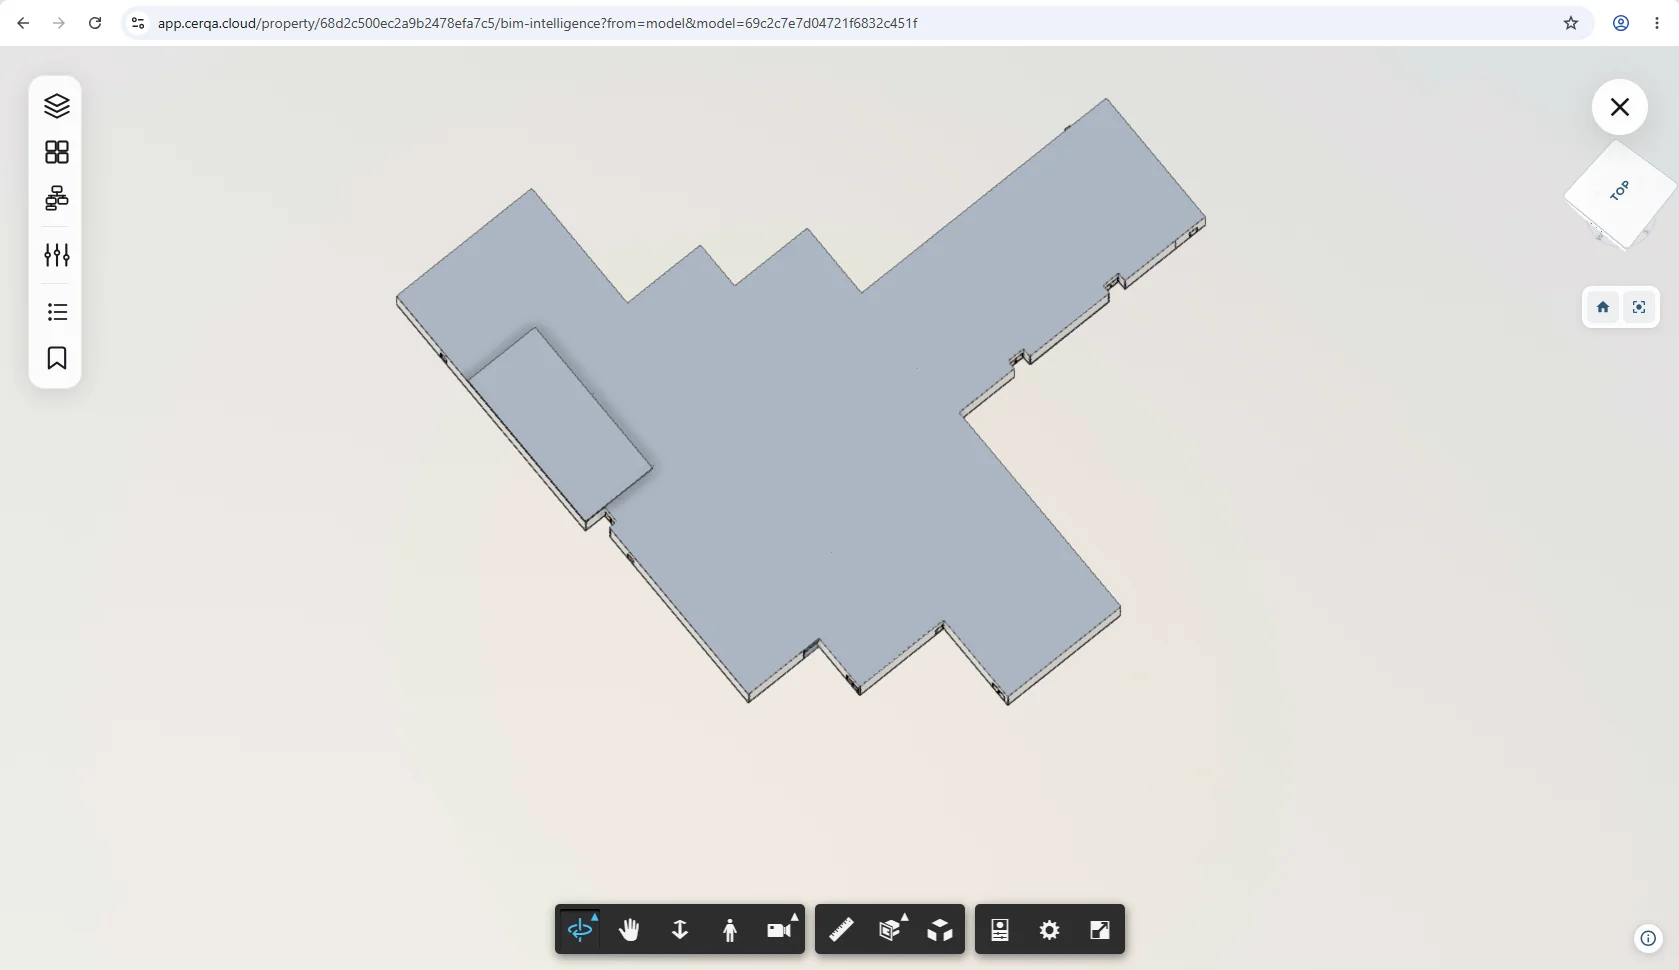
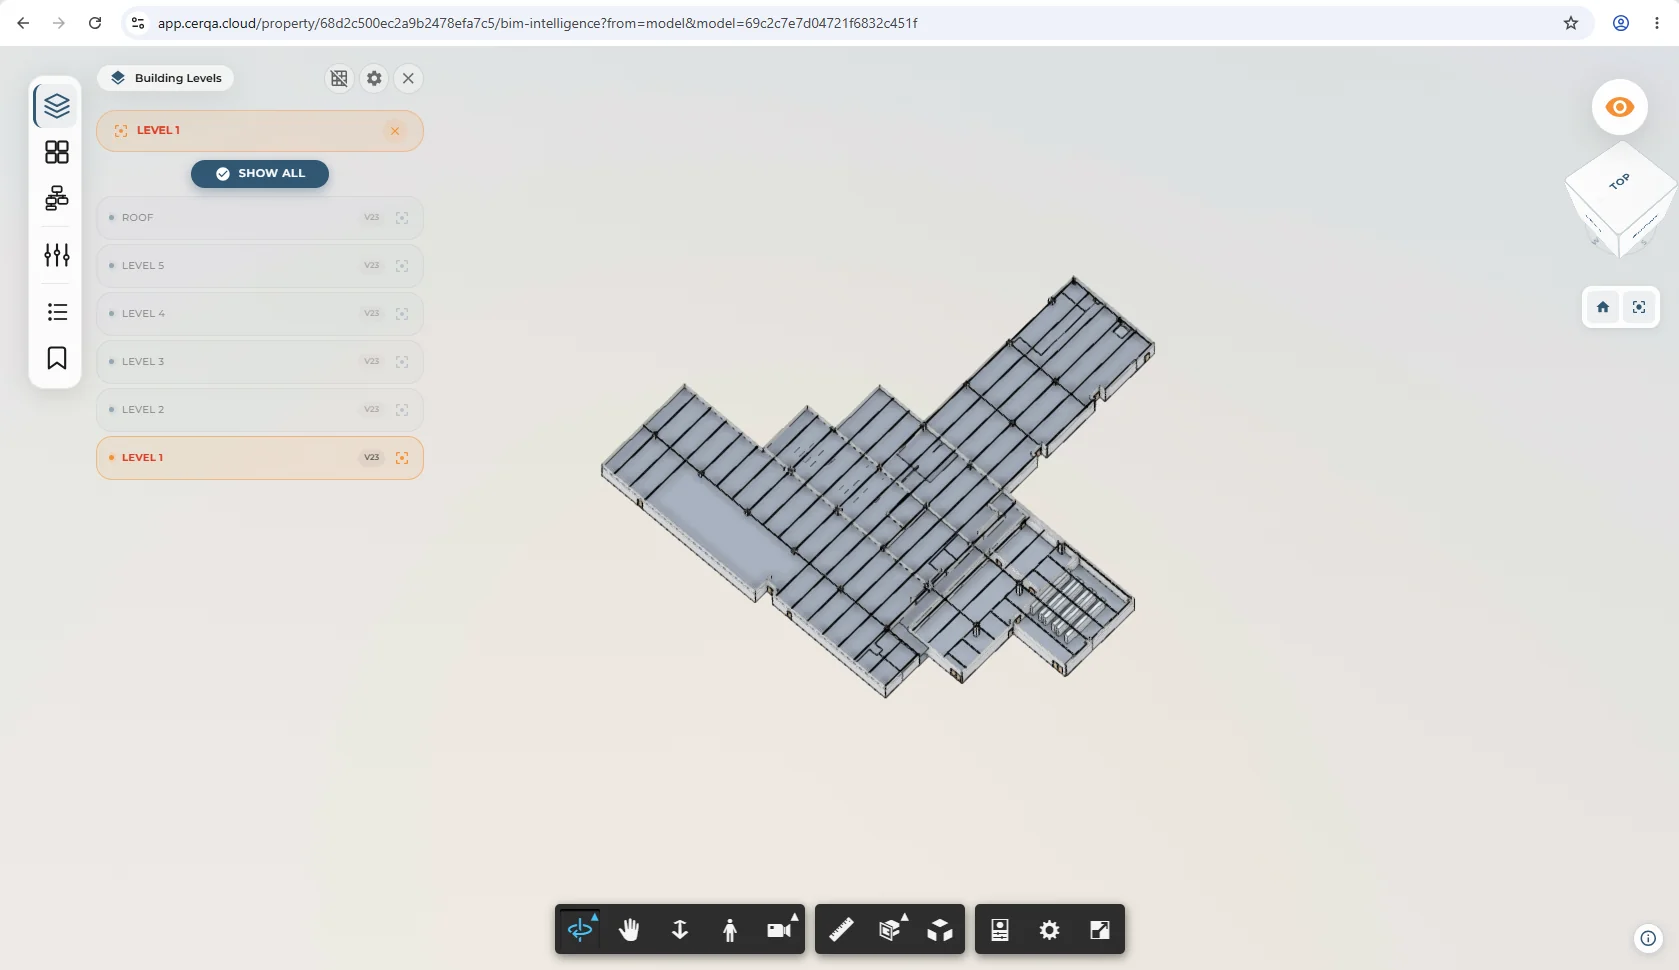
Level isolation
The Building Levels panel, opened from the viewer sidebar, cuts the model to a single floor. Click a level name (for example, LEVEL 1) and the viewer applies cut planes above and below that level, hiding everything else. Inspect that floor without the geometry above and below in the way; click another level to switch; click Show All to restore the full model.
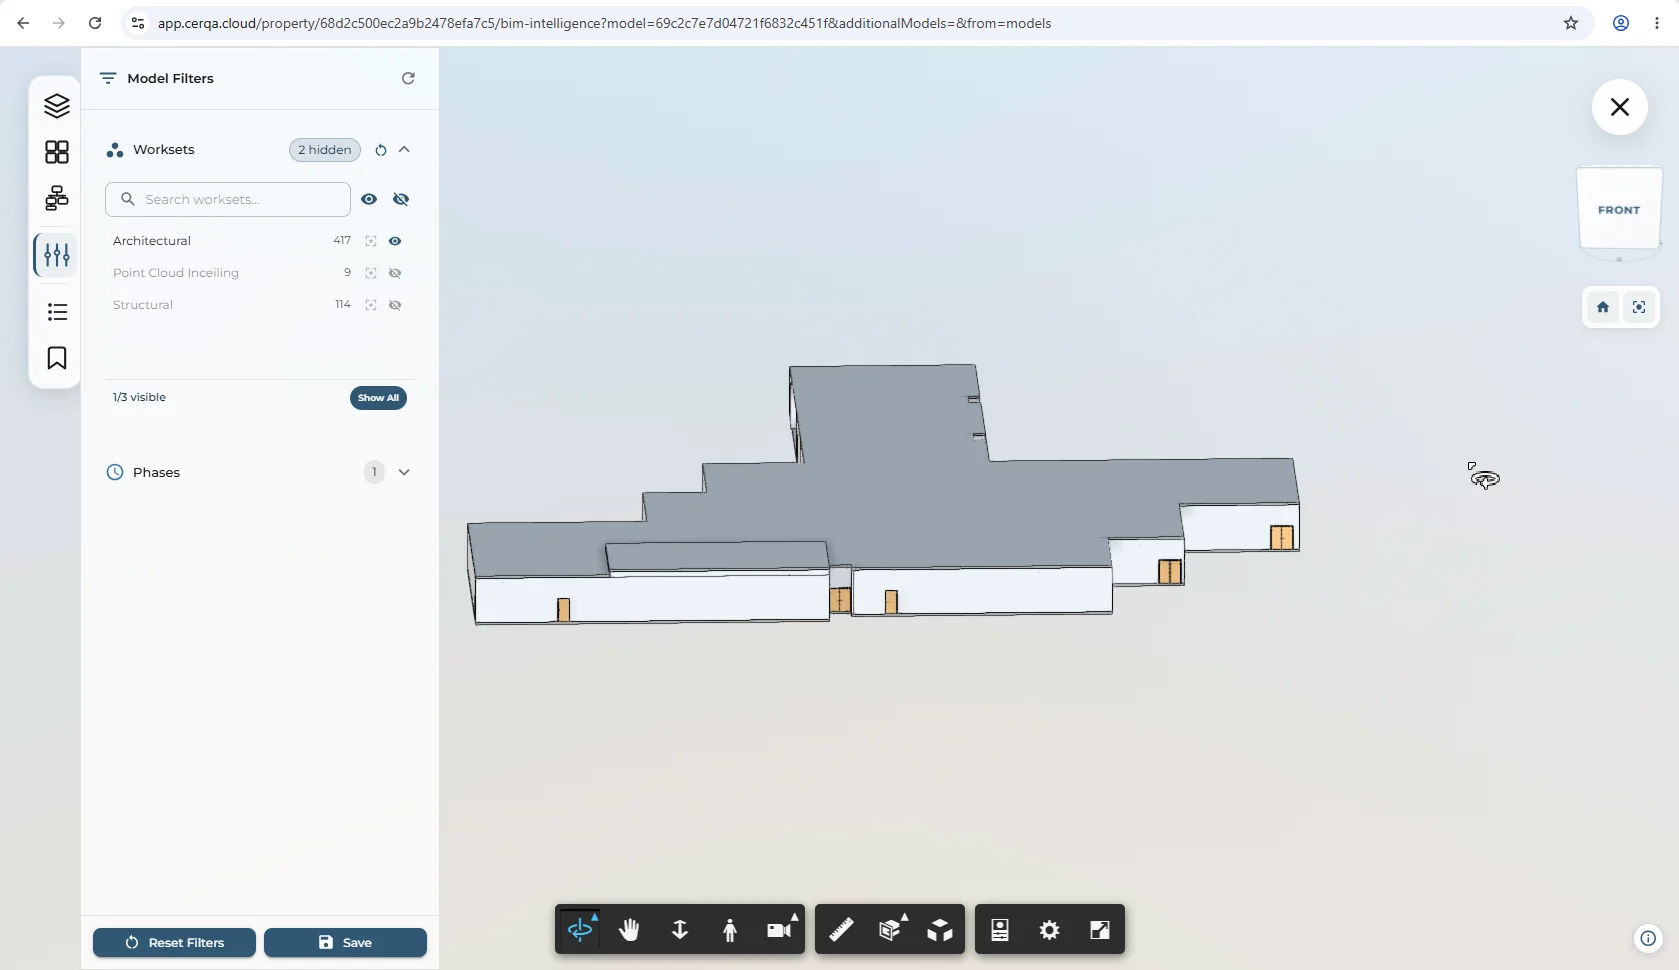
Workset and Phase filters
The viewer surfaces two filter axes that come from the underlying Revit model:
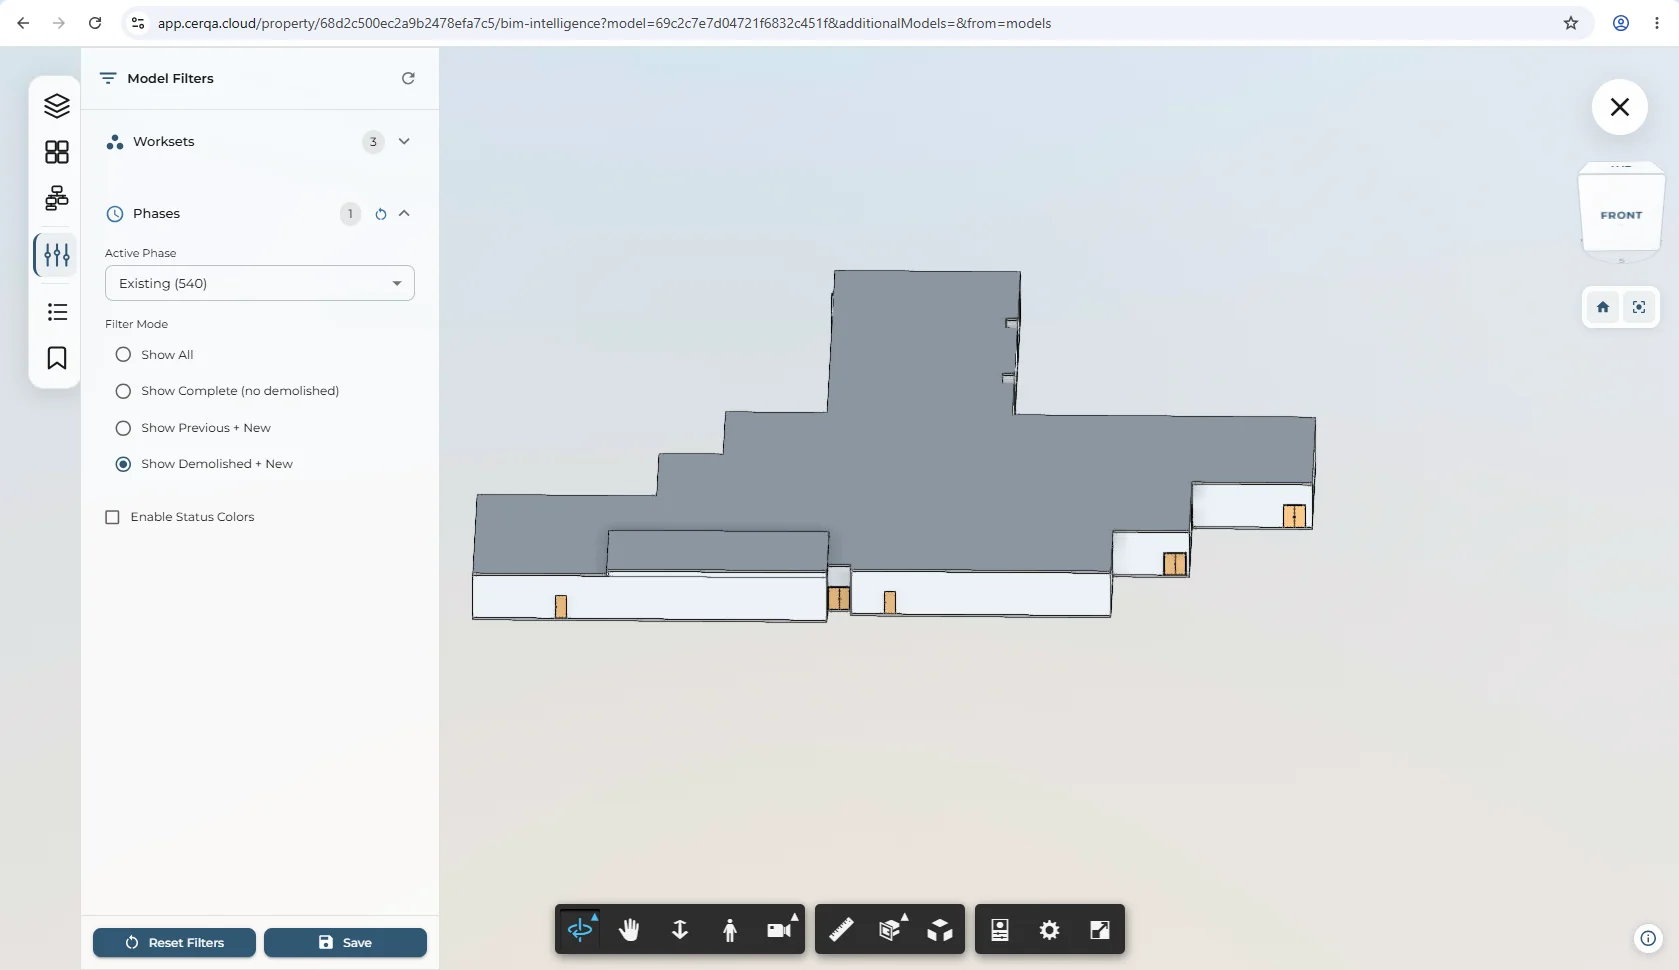
- 1Workset filter - Workset is Revit's collaboration unit. Narrow the visible model to a specific workset (for example, only the architectural workset or only the MEP workset). Useful when several disciplines share one Revit file.
- 2Phase filter - Phase represents a construction phase in the model (for example, New Construction, Existing, or Demolition). Narrow visibility to a single phase to see what is being built versus what already exists.
The Model Browser tree
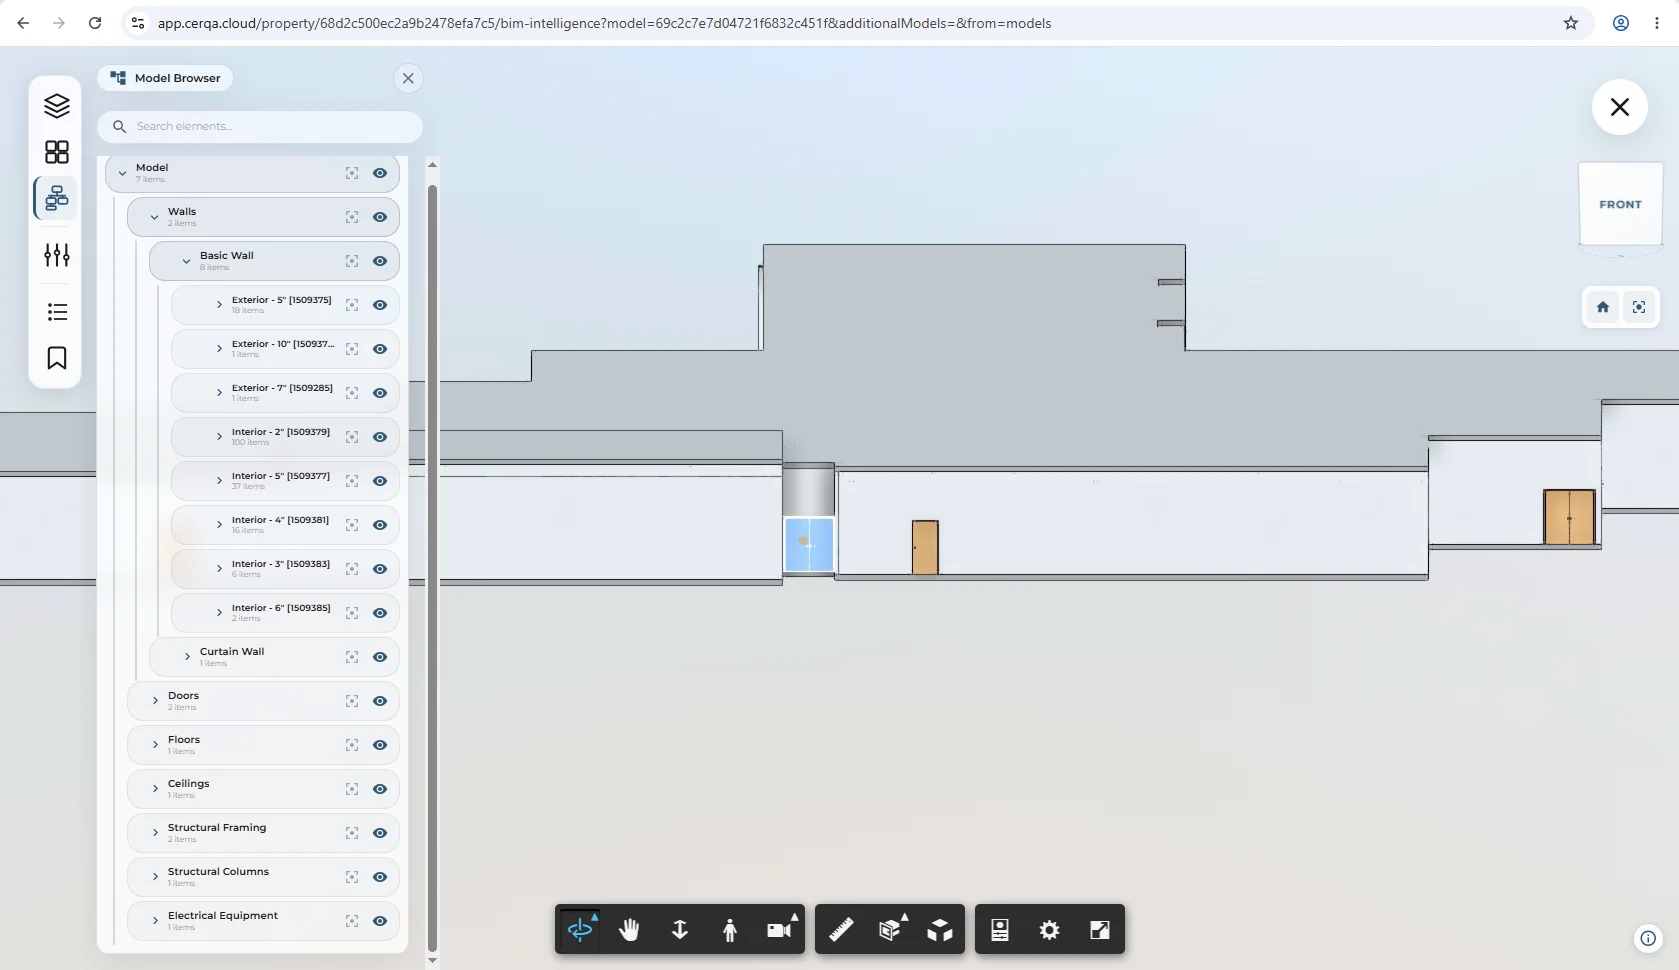
The Model Browser is the hierarchical view of the model's elements. Open the panel from the viewer toolbar and expand the tree to drill into specific categories or instances. Combine the Model Browser with the Workset and Phase filters: filter the visible set first, then browse what remains.
BIM Intelligence
Three read surfaces let you pull element data out of the model without leaving the viewer. They are available to anyone who can see the model.
Element Info on Hover
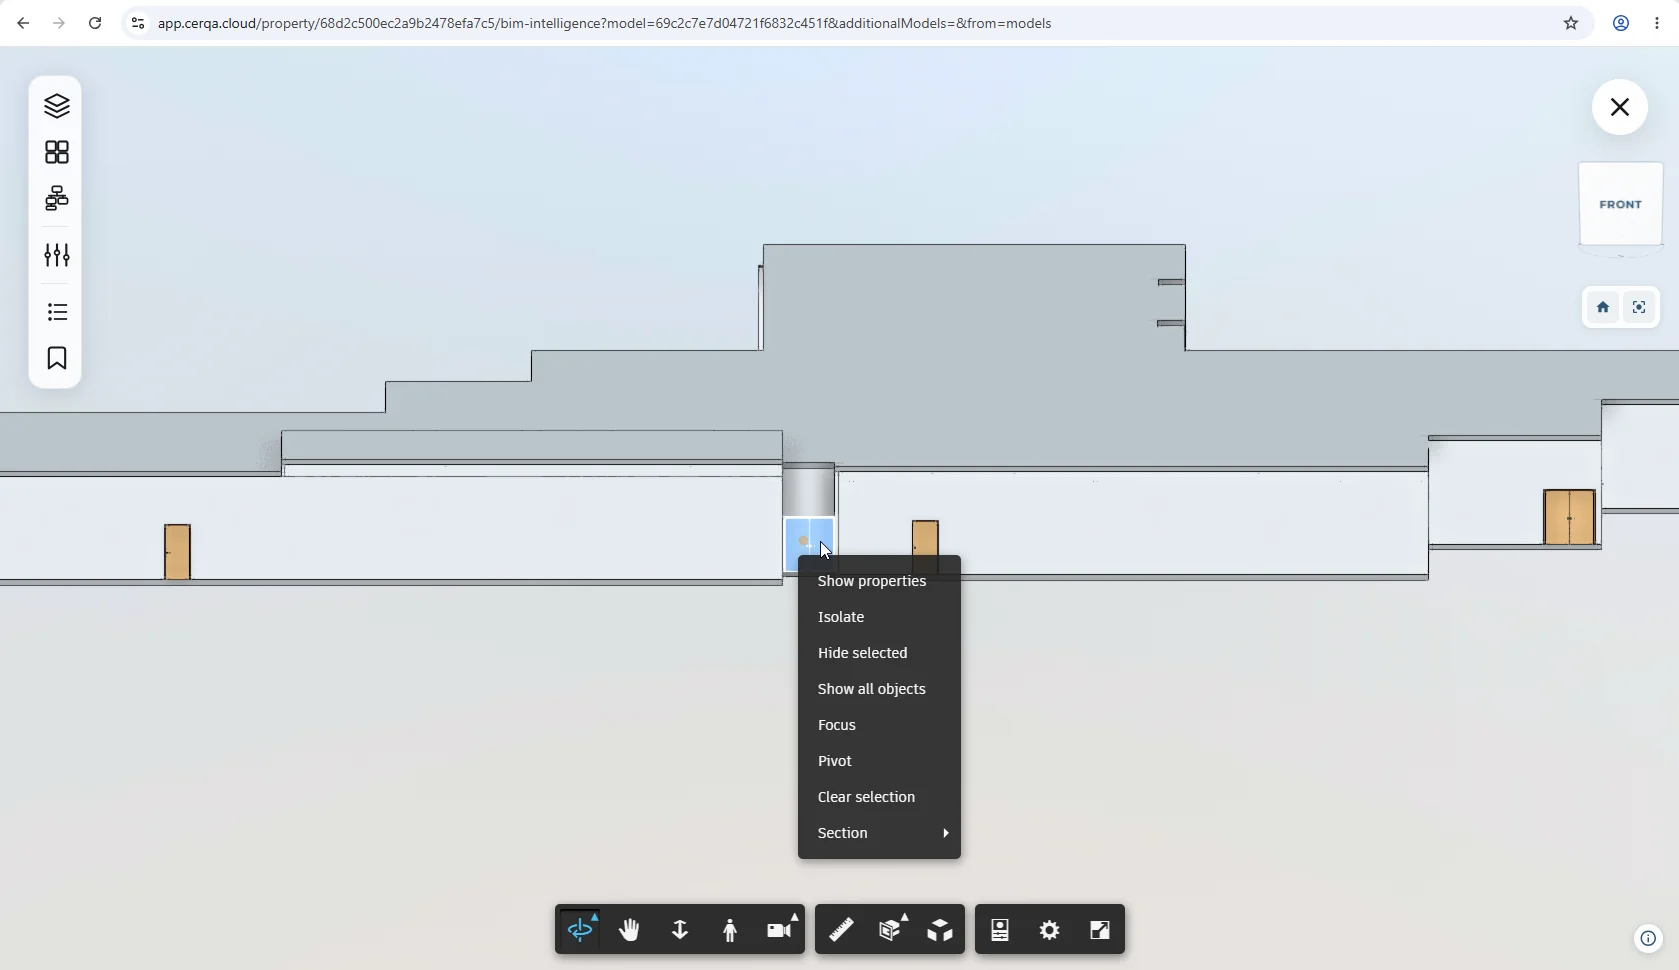
Hover the cursor over any element in the model and a small inline info panel appears next to the cursor with that element's identity and core properties. The panel is transient: it disappears when you move off the element. Useful for a quick check (“what is this object?”) without opening any panels.
Element Properties panel
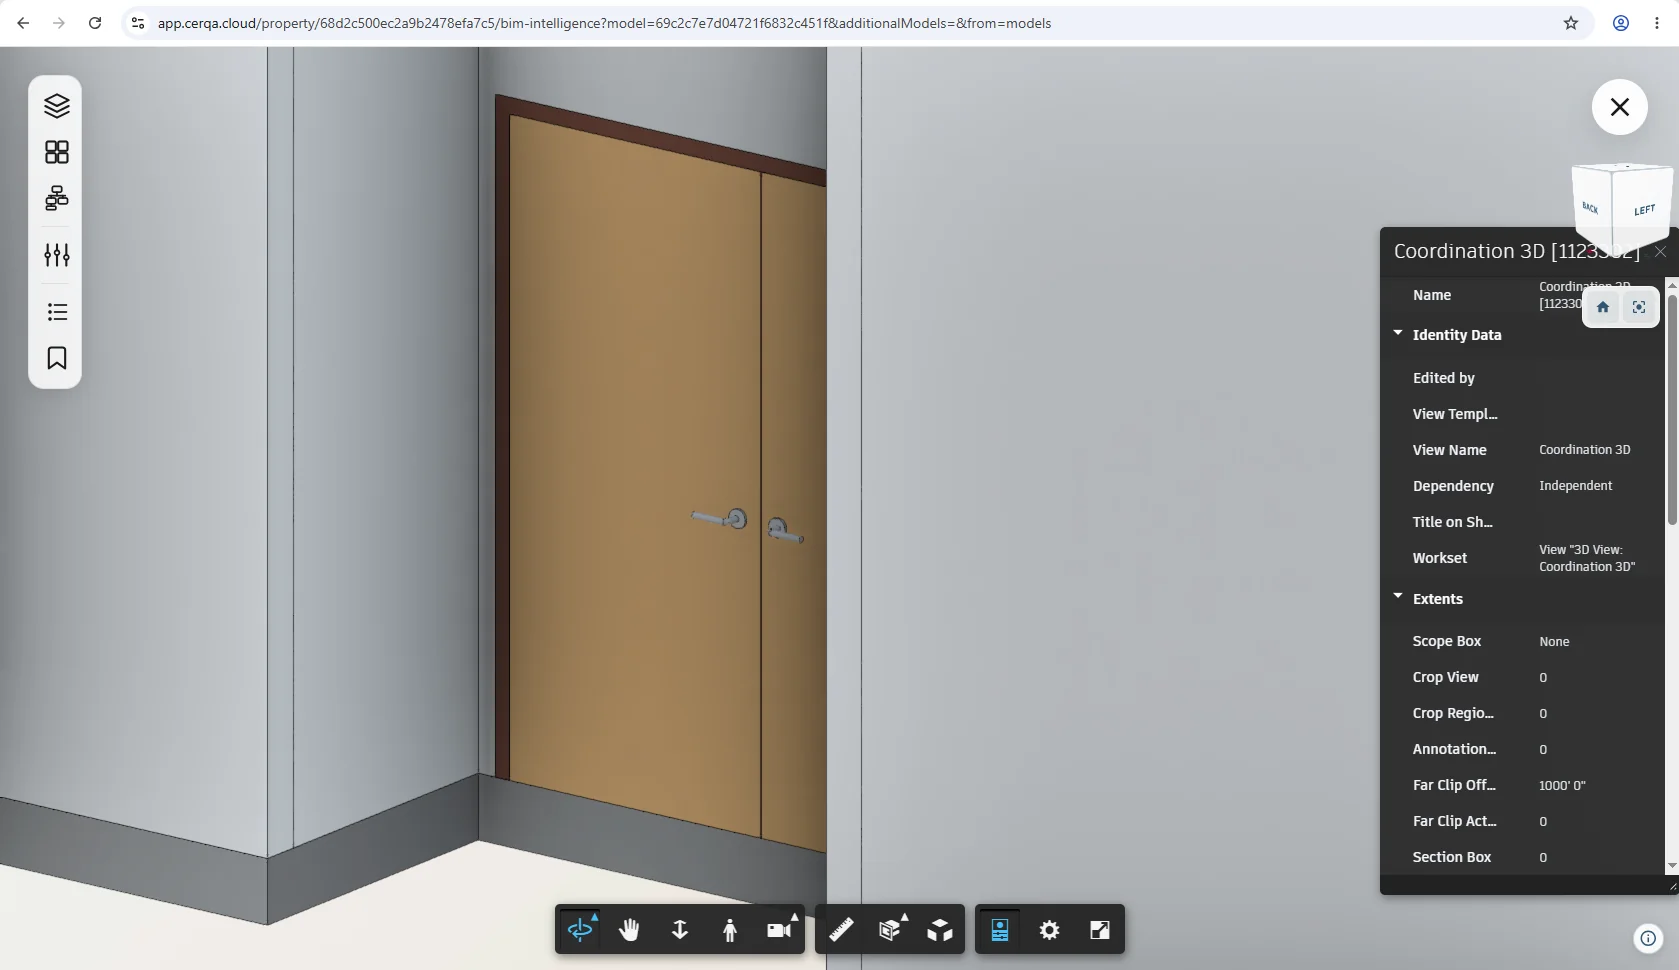
Click an element instead of hovering to open the full Element Properties panel as a sidebar. The panel lists every property the model carries for that element, grouped and scrollable. Distinct from hover: the hover panel is light and transient; the Properties panel is full and stays open until you close it or click somewhere else.
Sheets and Views
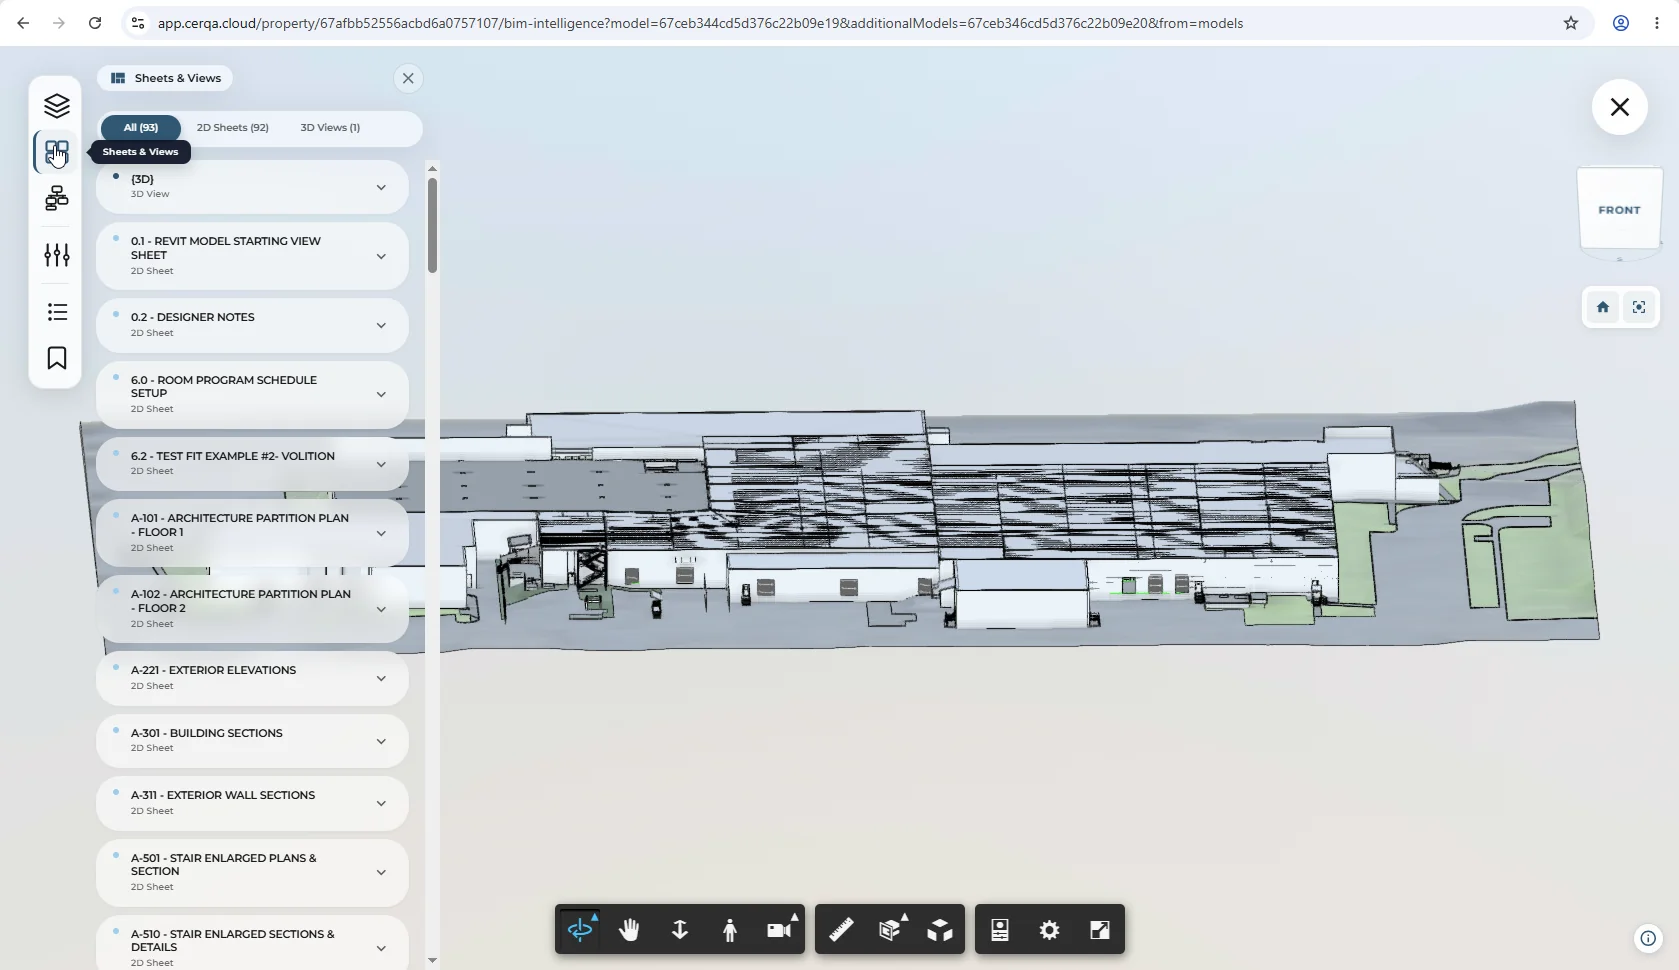
The viewer toolbar carries a Sheets and Viewscontrol that opens a switcher with the sheets and views defined in the Revit model. Pick a sheet (for example, the ground-floor plan) to switch the viewer from the 3D model to the 2D sheet view rendered from the model. Use this when your audience prefers the conventional sheet rendering of a floor over the 3D viewer.
Saving a view
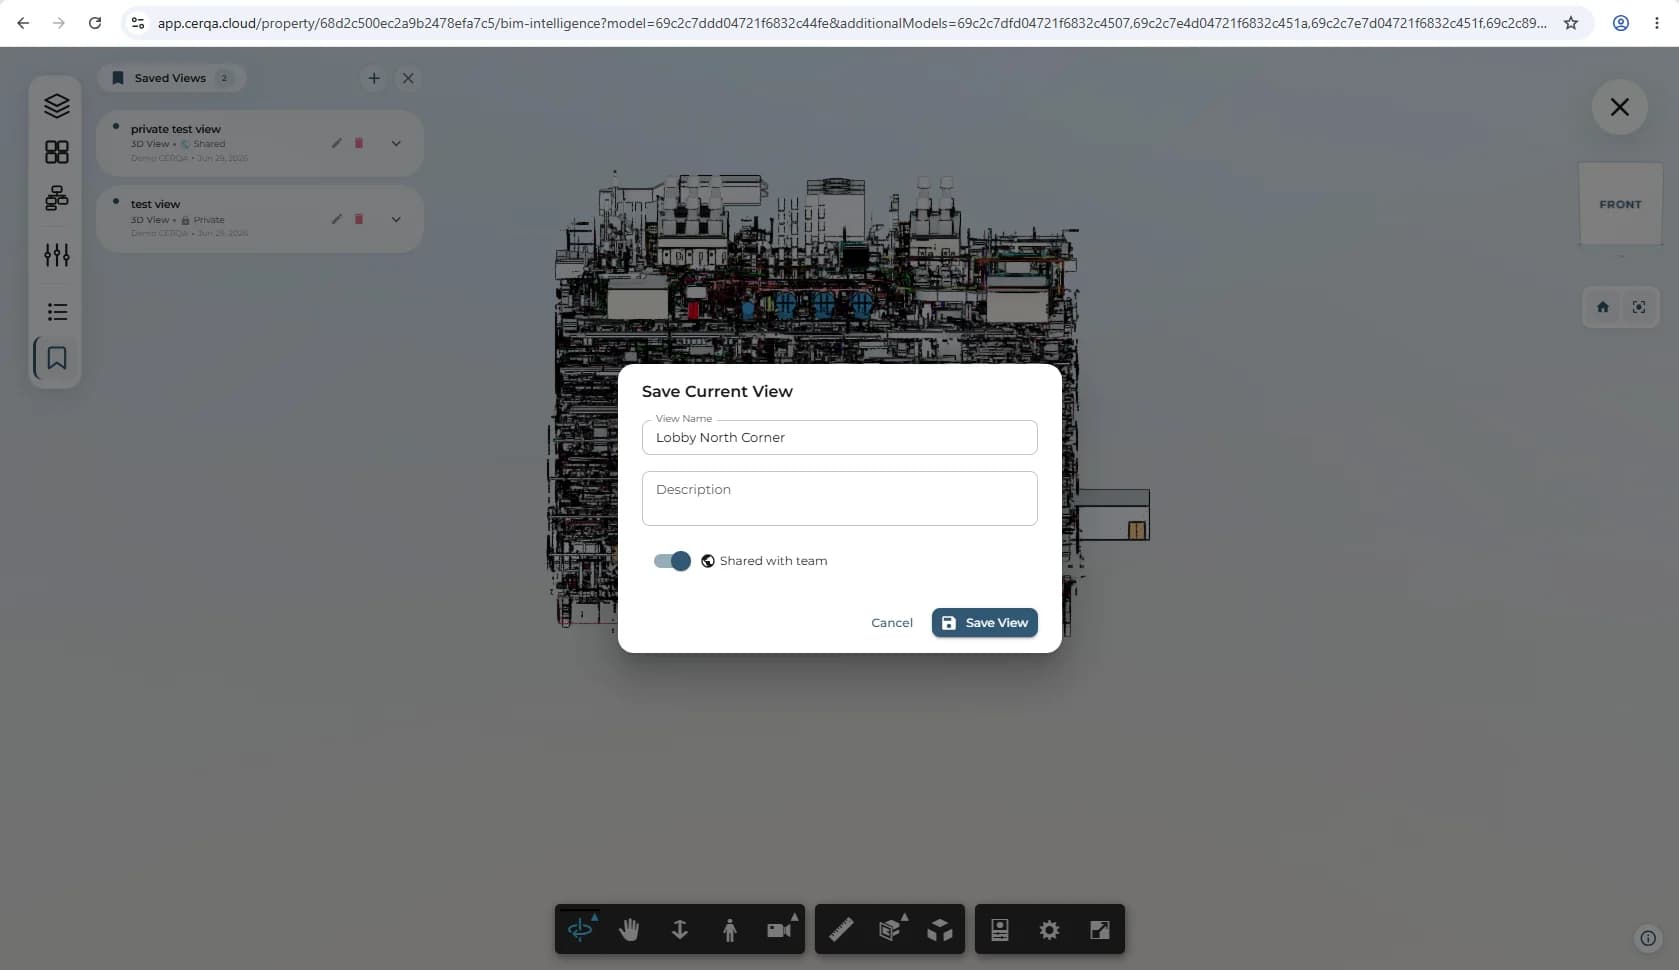
Once you have the model framed the way you want it (camera angle, level isolated, Workset filter applied, panels open), save the view so anyone on the property can return to the same frame. Click the bookmark icon in the left viewer sidebar to open the Saved Views panel, then click + to open the Save Current View dialog: name the view, optionally turn on the Shared with team toggle to make it visible to other property members, and save.
Save-view is open to any property member
Saving a view is available to any property member (Project Admin, Project Manager, Contributor, Viewer, or Guest). No role gate. To share the view with the rest of your team, turn on the Shared with team toggle on save; sharing is also open to any member on their own view. For the complete role-matrix row, see F-04 - Roles and permissions.
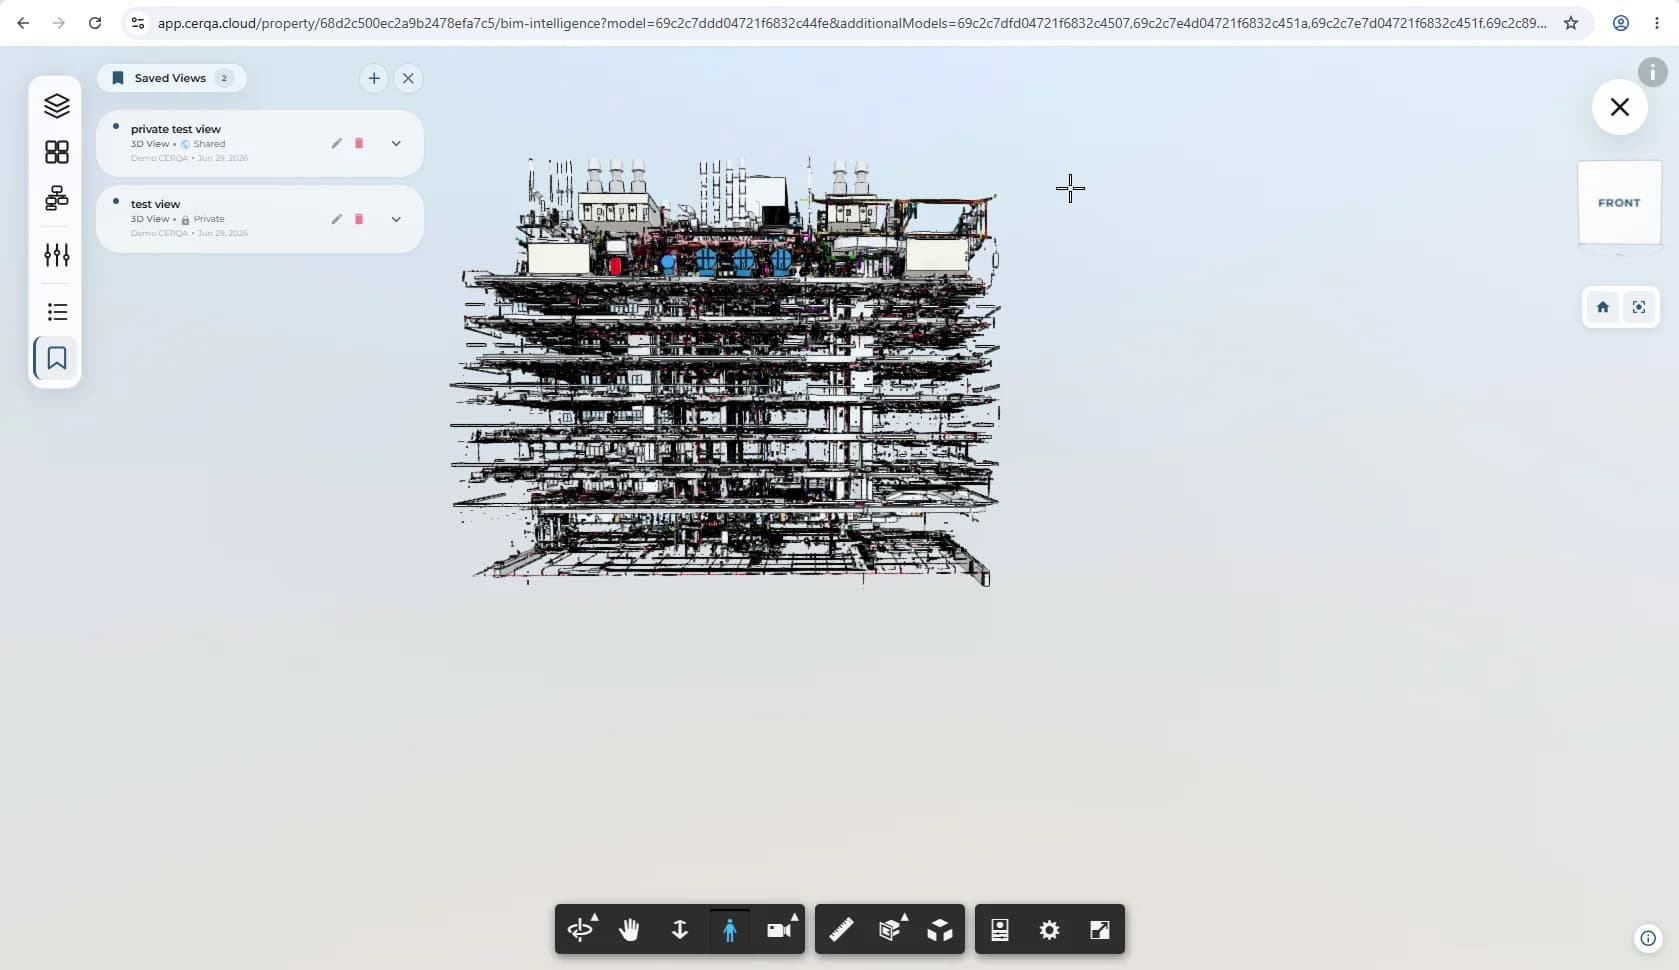
Saved views appear in the Saved Views panel for the property. Shared views are visible to every property member; private views are visible only to you. For multi-model coordination views (loading several models together and saving the framed result), see M-03 - Model sets & multi-model coordination.
Related pieces
- M-02 - Section tools - the section box for slicing the model and the viewer's measure control.
- M-03 - Model sets & multi-model coordination - loading multiple models together, per-model visibility, and saving coordination views.
- M-04 - Importing from Autodesk - bringing 3D models from Autodesk Construction Cloud into CERQA via the Autodesk integration. One-way only.
- D-01 - Files & Models module overview - the Files side of the same module. Revit .rvt files surface on both the Files tab and the Model tab.
- F-04 - Roles and permissions - the complete matrix: save-view row confirms any property member can save; the model surfaces are open to anyone who can see the model.