Company Admin
Creating a property
Creating a property is the gateway to giving your team a place to put models, drawings, field captures, and project data for a specific building. This piece walks the Add Property flow end to end: where the button lives, the dialog you fill in, what Save does, and what the new property looks like the moment you land in it.
Property creation is available to Company Admin and Project Admin. For the wider scope of what else you own at the company layer, see CA-01 - What you actually own as Company Admin.
Add Property button - where it lives
Open the Properties page from the sidebar. The Add Property button sits in the top-right of the page in all three views: Map view, List view and Grid view.
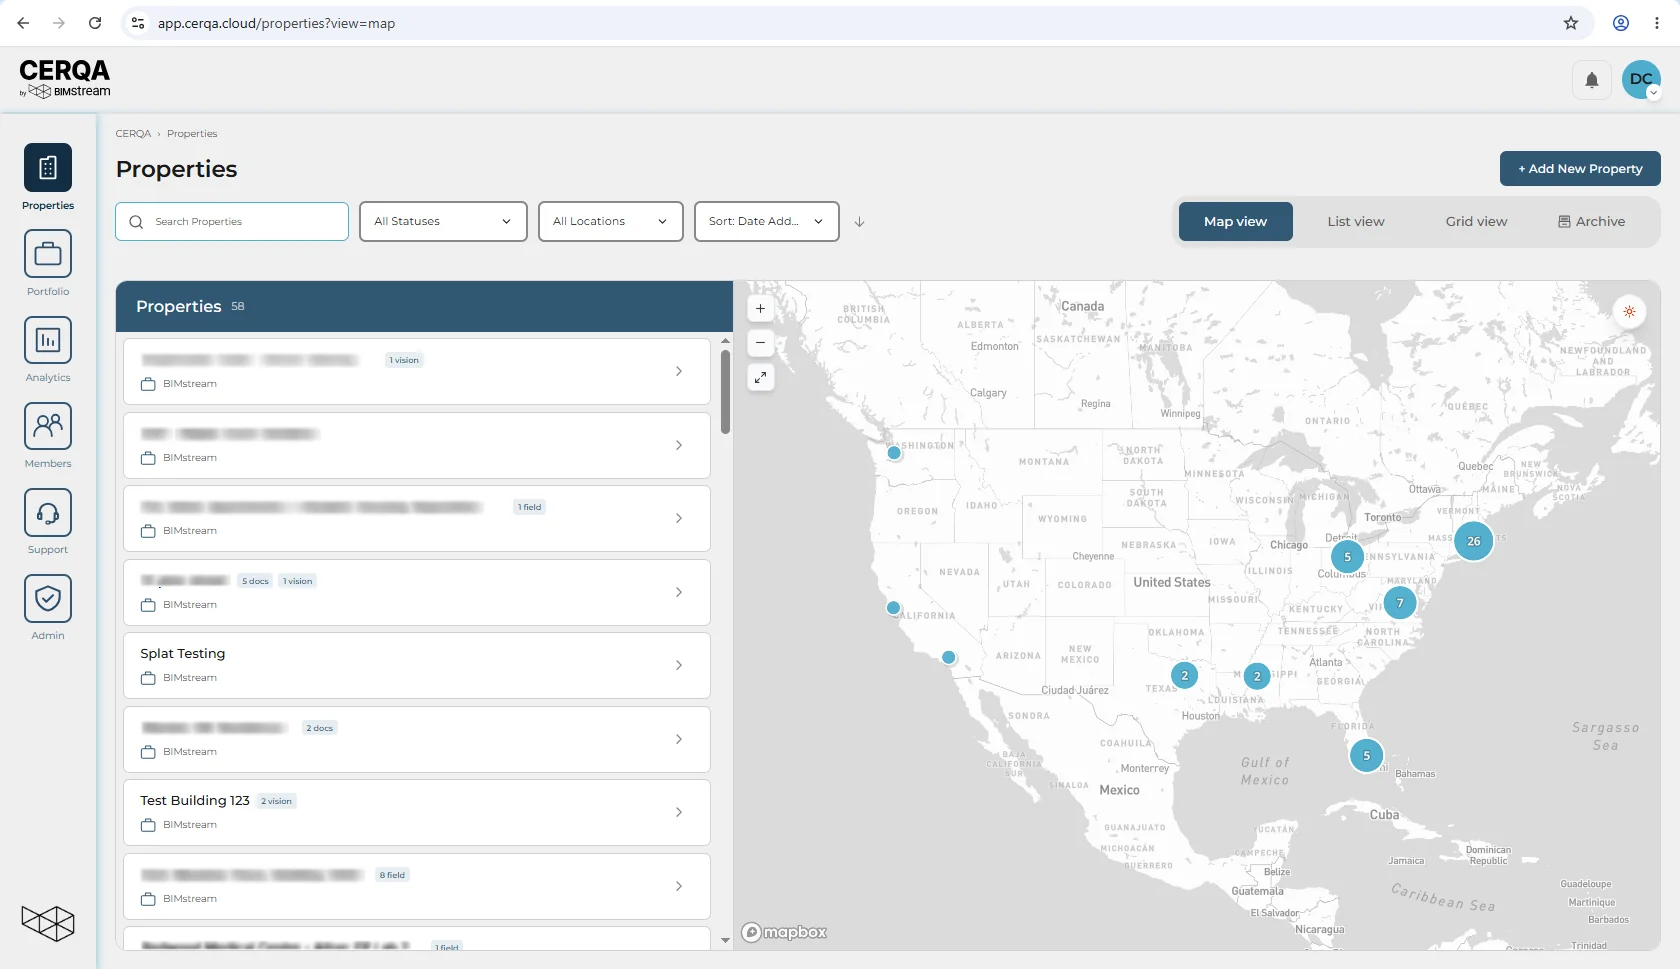
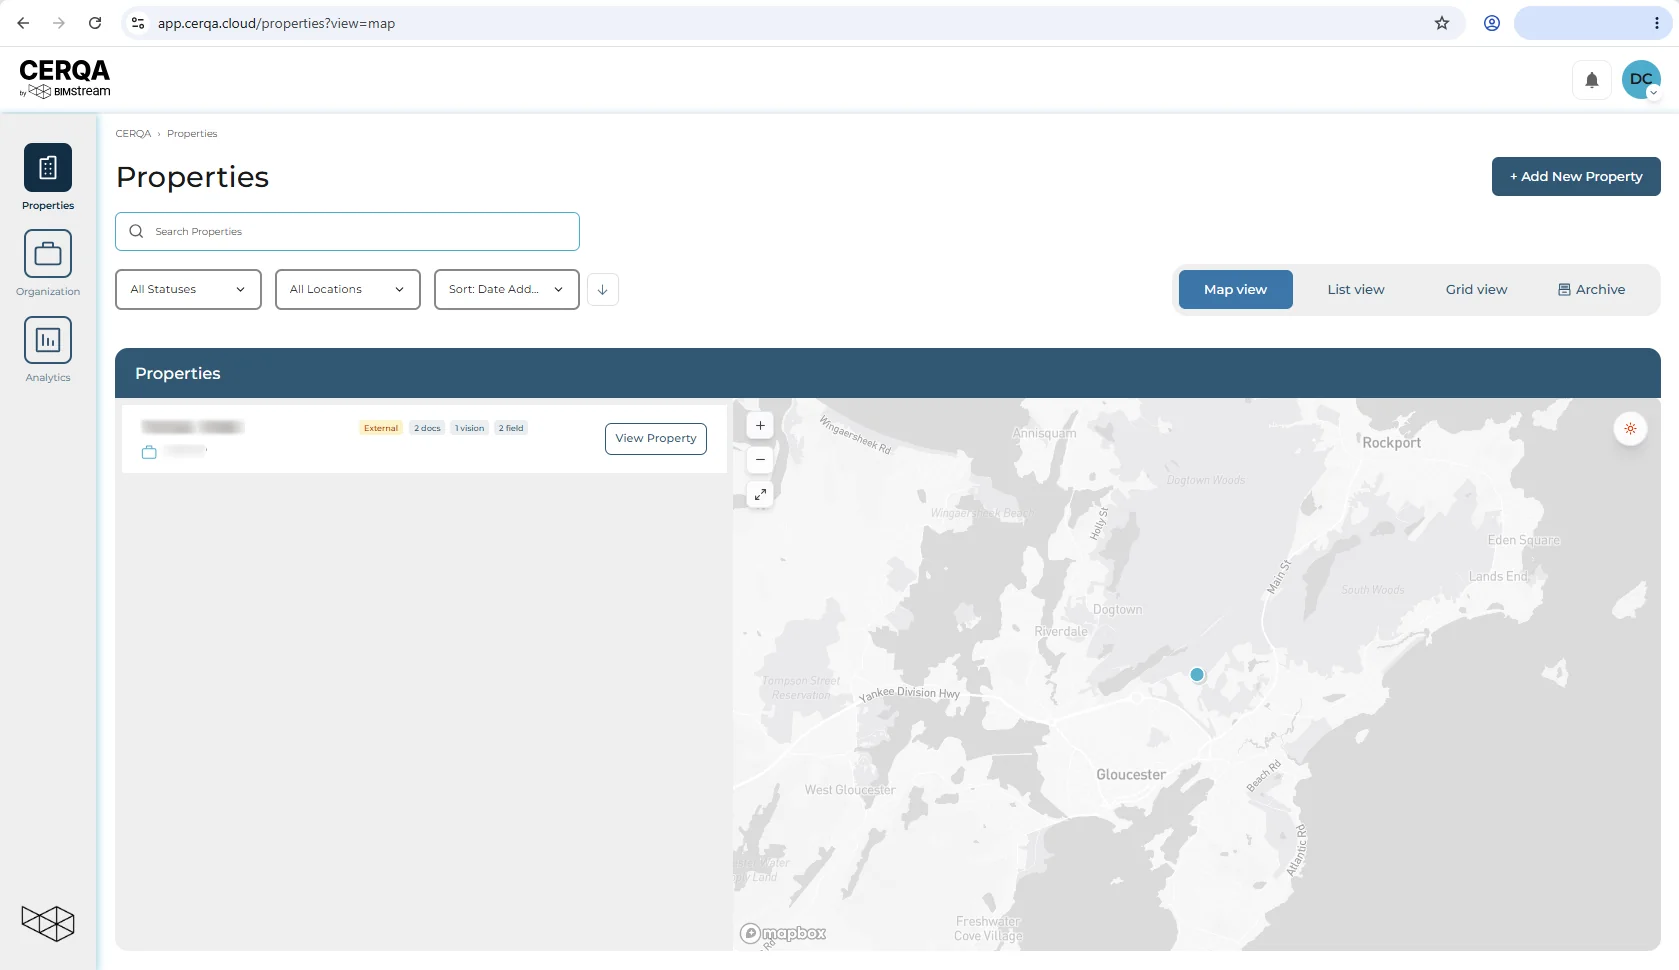
Company Admin or Project Admin can see and click Add Property. Project Manager and below do not see the button. The role-by-role matrix for every other capability lives in F-04 - Roles and permissions.
Required fields in the Add Property dialog
Click Add Property and a dialog opens. The dialog has fields for the property's name, address, and a small set of identifying details.
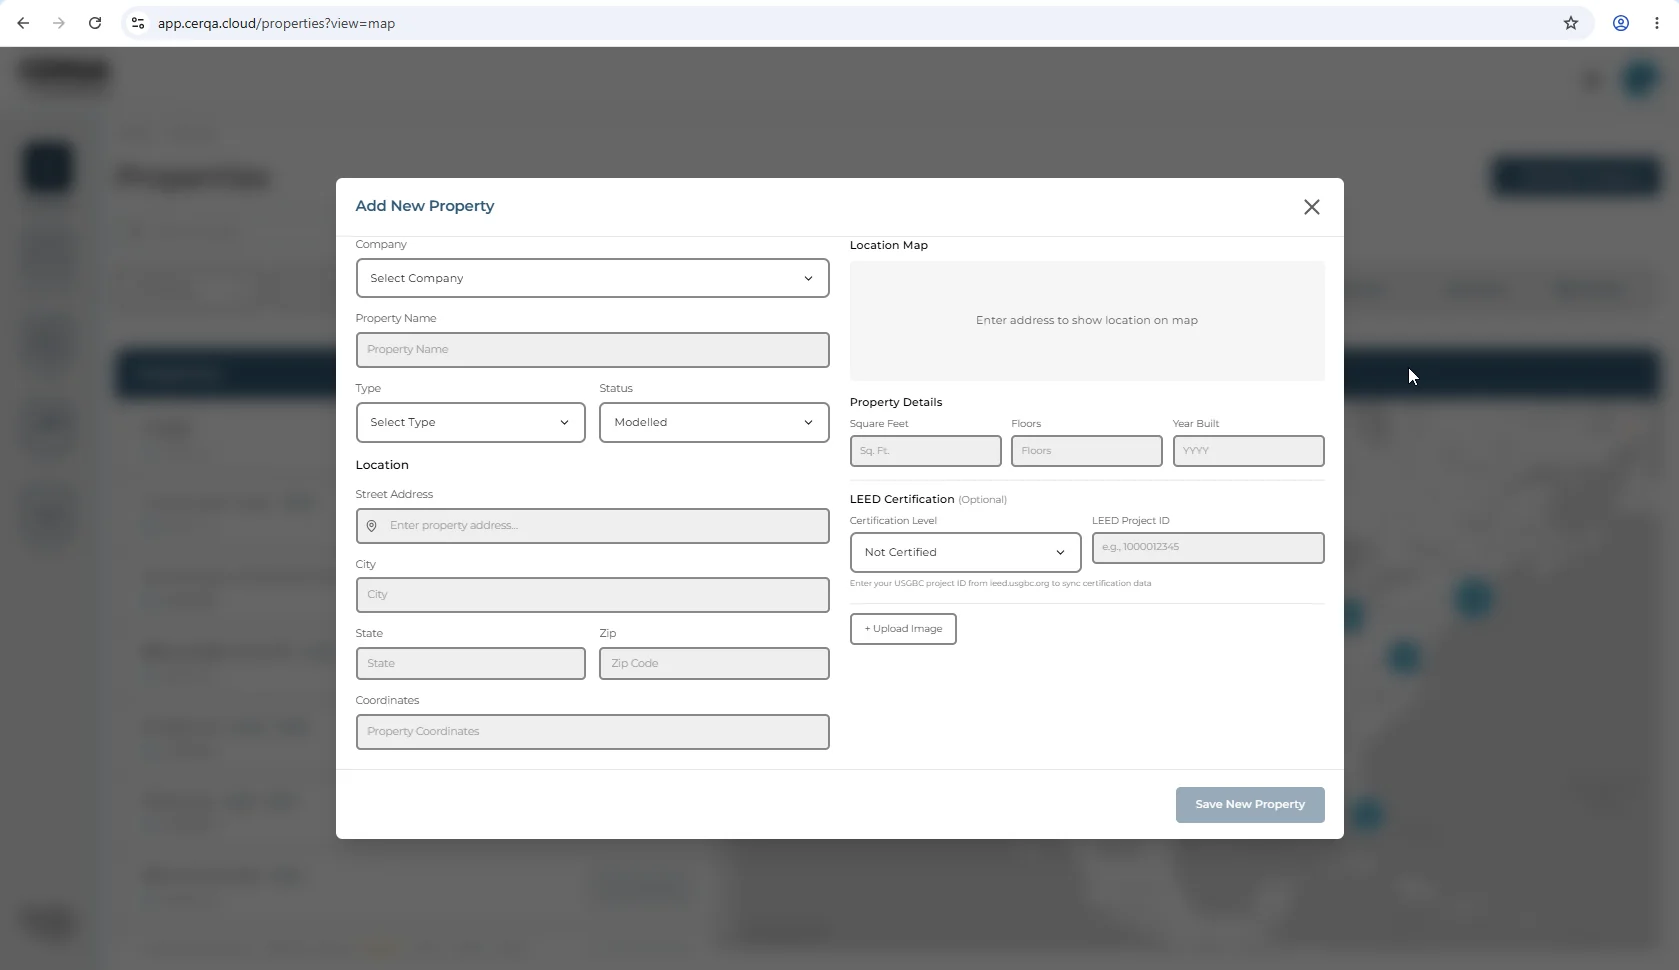
Fill the required fields. The form is intentionally light at this stage; you do not need to enter everything about the building upfront. The remaining property data (drawings, models, team assignments) lives on the property's tabs and gets added later.
Saving - you land in the new property's workspace
With the required fields filled, click Save. CERQA saves the property and takes you directly into the new property's workspace. There is no separate confirmation step.
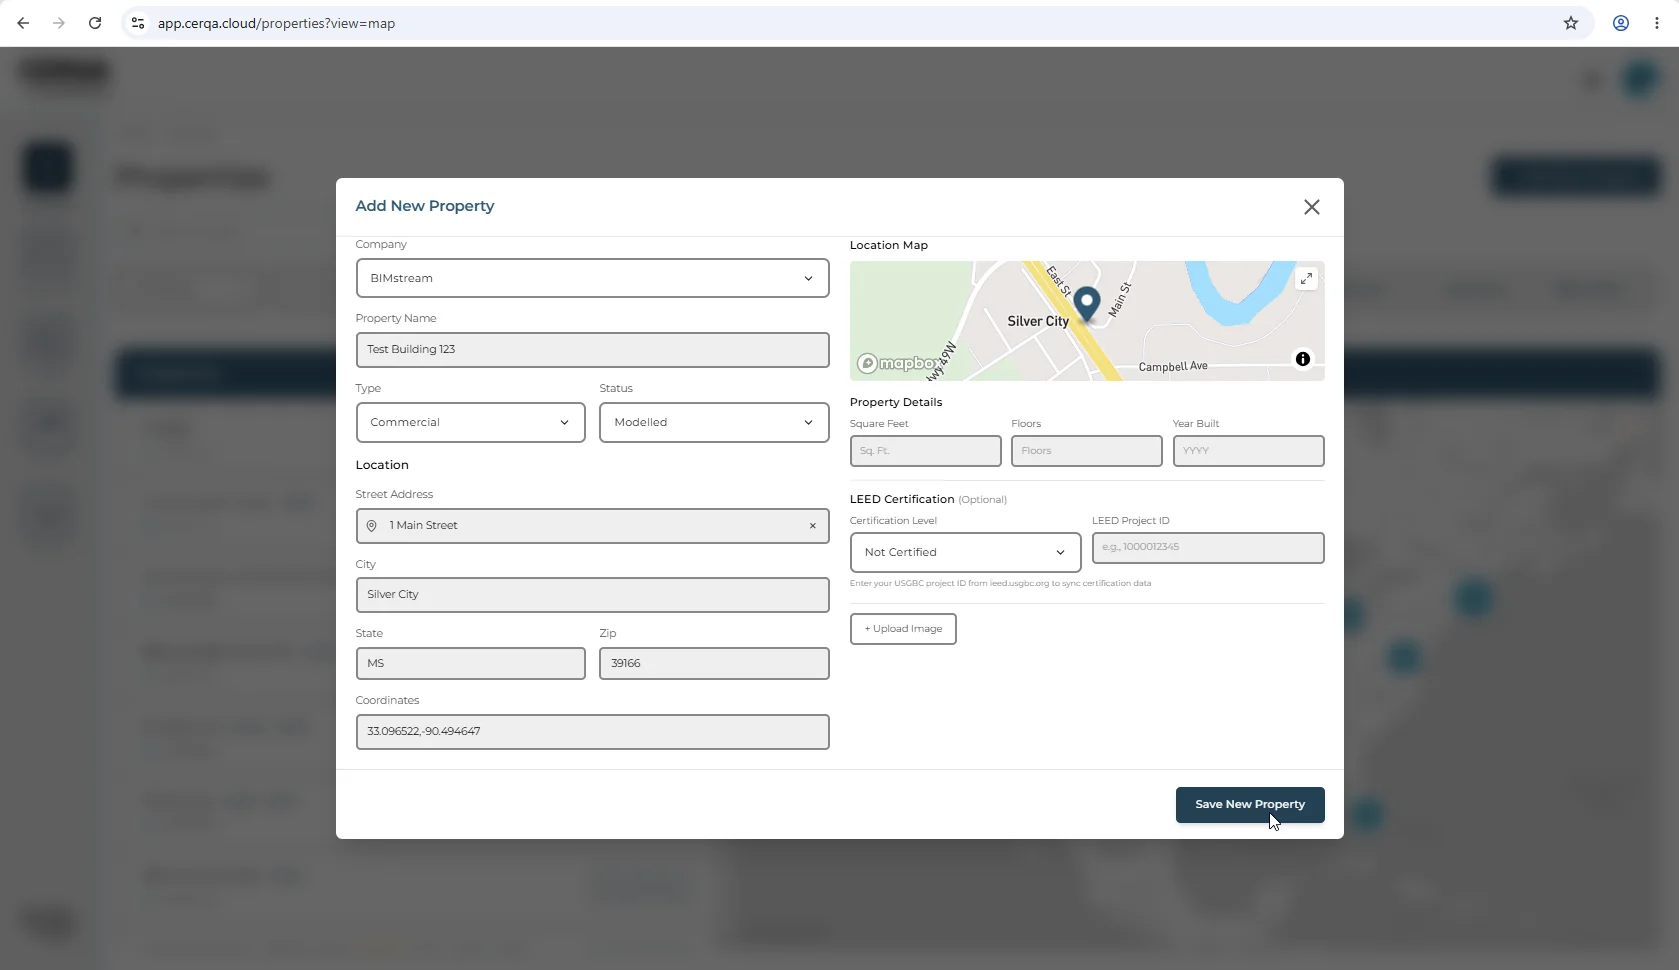
The next section covers what you see in the new property the moment you land there.
What happens to the new property's defaults
After Save, you land in the new property's workspace. The page shows the property tab bar and an empty-state body waiting for you to add content.
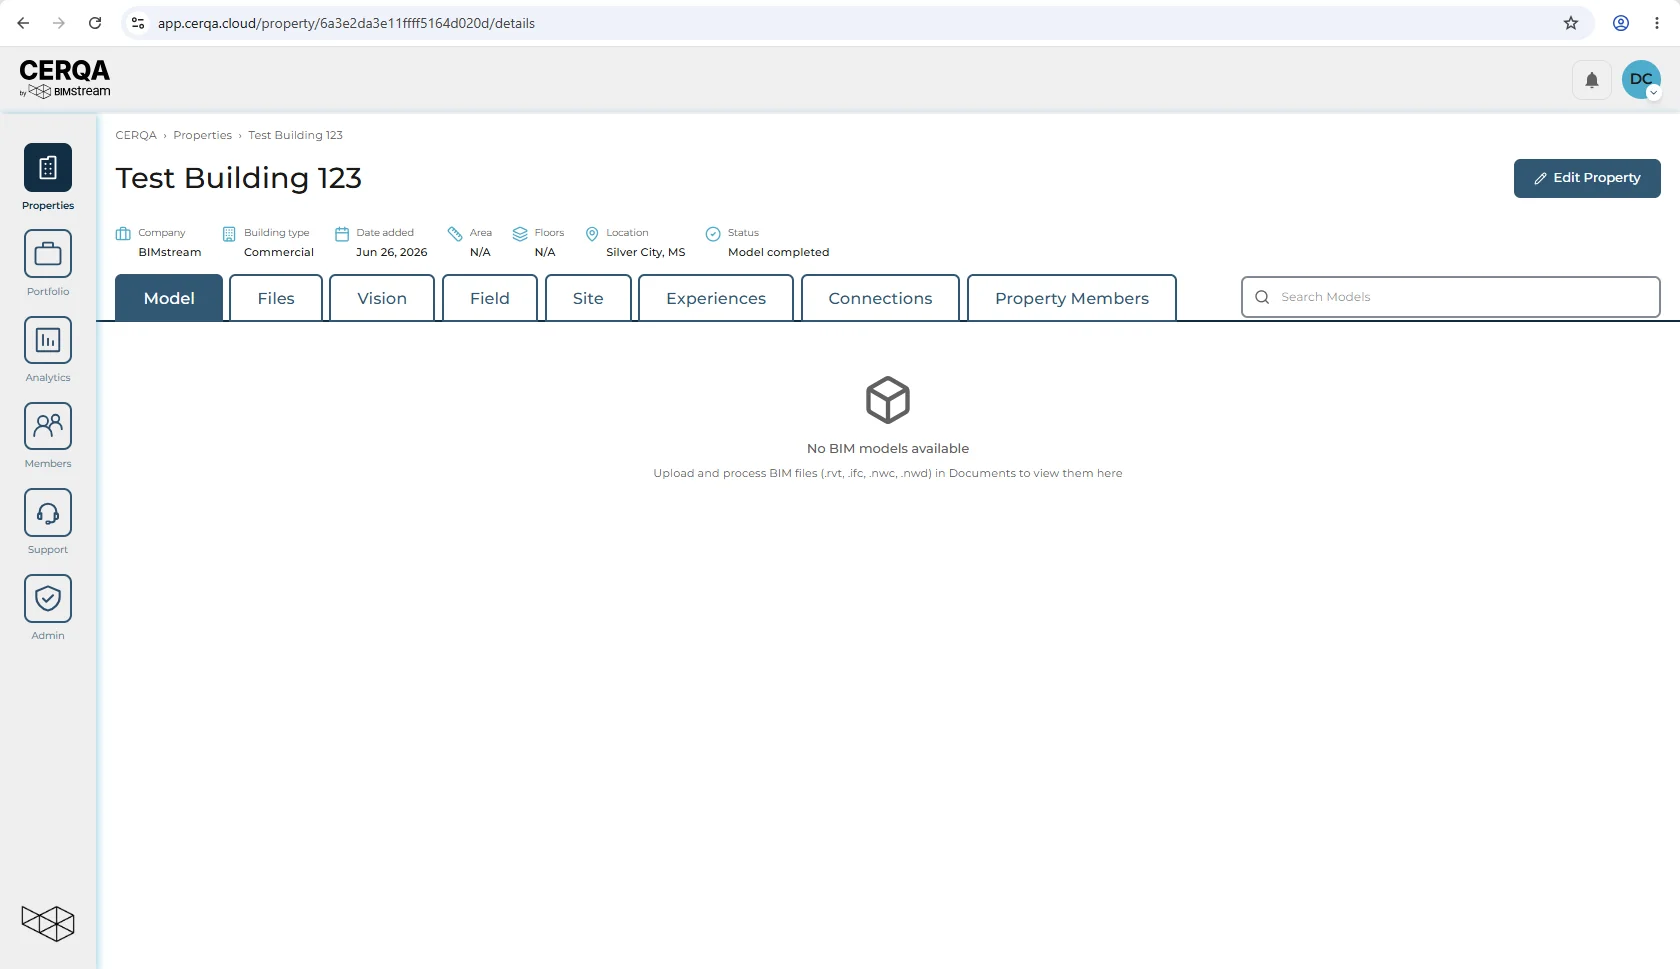
The tab bar on a new property always shows Model, Files, Vision, Field, and Property Members; companies with the Site, Experiences or Connections module see those tabs as well.
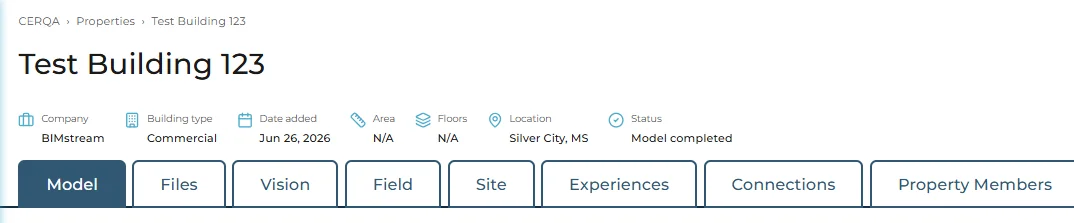
Only Property Members is purely role-gated; every other tab is module-gated. A company without the Field module won't see the Field tab on any of its properties. The Connections tab is also module-gated and appears only for companies with the Connections module. For the full module-to-tab mapping and the order in which gating decisions apply, see CA-07 - Module gating reference.
The new property has no team yet beyond your own admin access. To add other members to this property with a property-specific role, use Add Member on the Property Members tab (the per-property flow is in CA-05 - Managing members). To invite a brand-new member to the company who will then need per-property assignment, see CA-04 - Adding members to your company.