Workflows
Drone survey to 3D model
Two CERQA features ingest drone survey data. Each lives on a different property tab, accepts a different export format, and produces different outputs. This workflow walks both paths so you can pick the one that matches what you want the data to become, and then cross-reference the result with the 3D model on the Model tab.
Path A is the Site-tab “Upload Aerial Model” flow, covered end-to-end in CA-10 - Uploading aerial models. Path B is the Field-tab “Import DroneDeploy” flow, covered in full below.
Two distinct ingestion paths
The same drone hardware can produce output for either path depending on the export format you choose. Pick the path by what you want the data to become:
- 13D photogrammetry on Site - Produce 3D Tiles or raw drone images, then upload via Path A. CERQA either ingests the tiles directly or, for raw images, reconstructs them in a separate Start Processing step, and what comes back depends on the job that completed. The result lives on the Site tab and is rotatable, sliceable, and comparable against the BIM model in 3D.
- 2Floor plans and panoramas on Field - Produce a DroneDeploy ZIP export, then ingest via Path B. CERQA accepts the ZIP and lands the floor plans and 360 panoramas in the Field tab, where they coexist with Field pins and observations for ground-level inspection.
You can also run both if your team's workflow uses both surfaces. The two outputs coexist on the same property without conflict, and either can be cross-referenced with the BIM model on the Model tab (covered in the cross-reference section below).
Path A: Site tab Upload Aerial Model
Path A is the Site-tab “Upload Aerial Model” flow. Use it when your goal is 3D photogrammetry: a model of the site surface you can rotate, slice, and compare against the BIM model in 3D.
What you upload:
- 3D Tiles: an already-processed photogrammetry export folder from Context Capture or iTwin Capture Modeler. The folder must contain
tileset.jsonor3D_Tiles.json. Maximum 50 GB per upload. - Raw Images: a ZIP or folder of raw drone images. Uploading them does not reconstruct anything; you start that separately from the model list with your choice of quality preset (Fast / Balanced / High Quality, default Balanced, roughly 1 to 2 hours per 100 images at Balanced). What the completed job returns varies; a DEM in particular is not guaranteed. CA-10 covers the outputs in detail.
Where it lives: the Site tab on the property, module-gated by the Site subscription (see CA-07 - Module gating reference).
For the full step-by-step (dialog fields, file requirements, quality presets, the delete-raw-images checkbox, resumable uploads), see CA-10 - Uploading aerial models. This workflow doesn't reproduce CA-10's detail; Path A here is one step in the wider workflow, and CA-10 is the reference for that step.
Path B: Field tab Import DroneDeploy
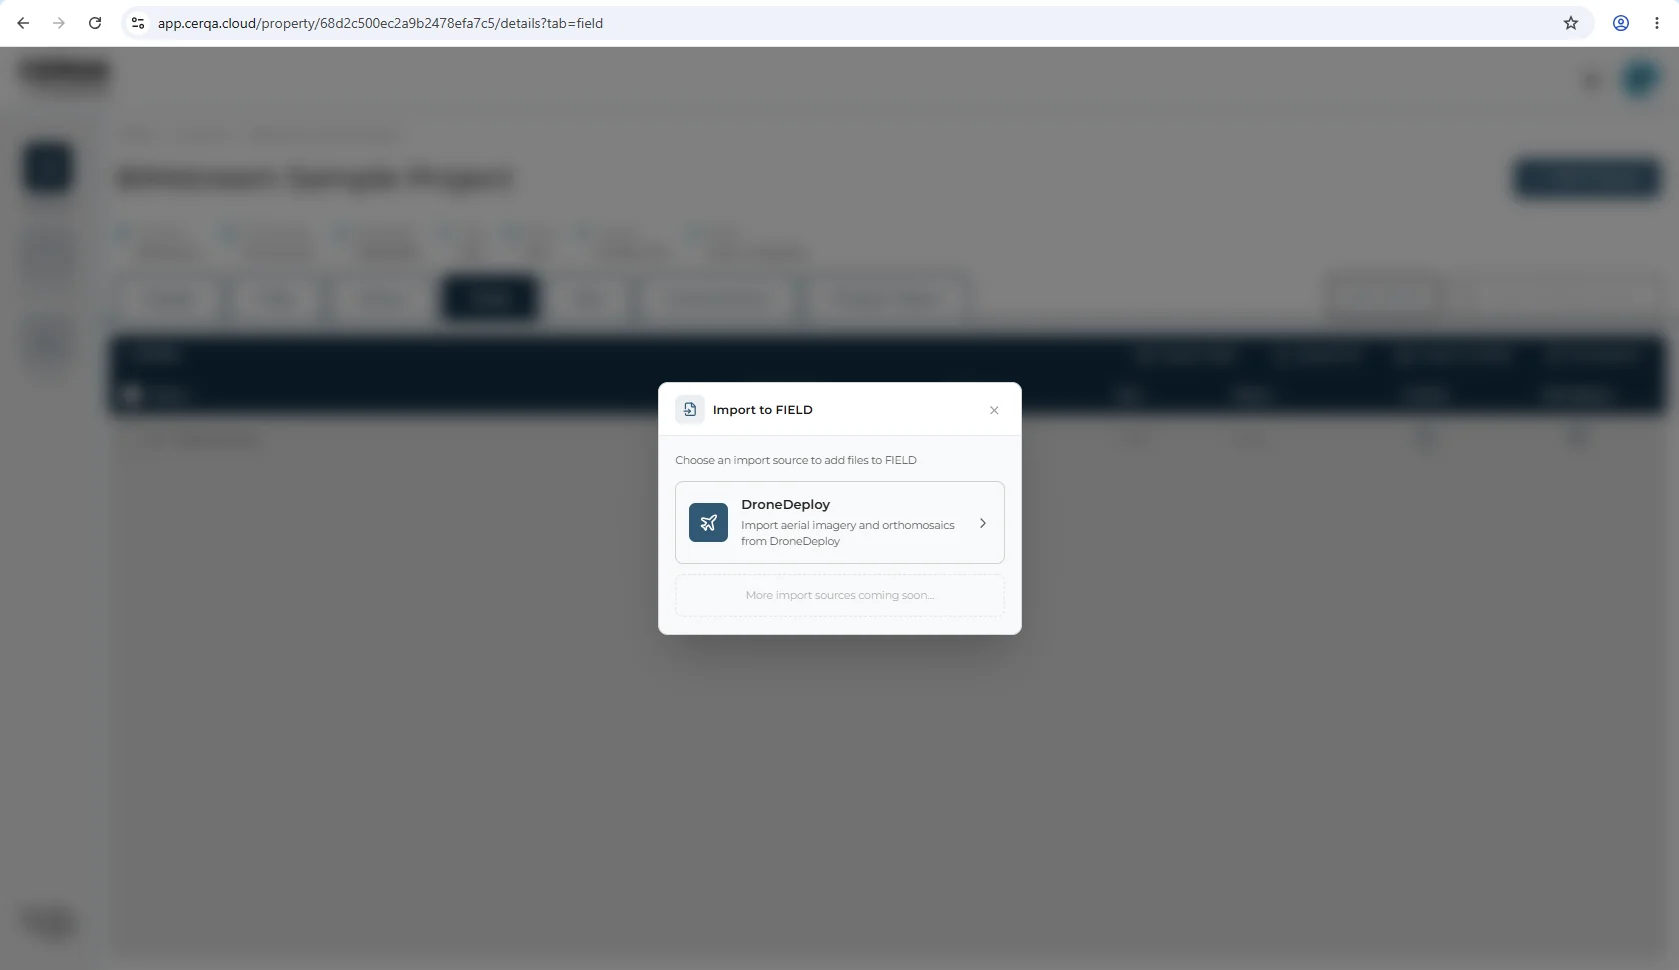
Path B is the Field-tab “Import DroneDeploy” flow. Use it when your goal is floor plans and 360 panoramas overlaid on the Field workflow (pins, observations, ground-level inspection) rather than a 3D photogrammetry mesh.
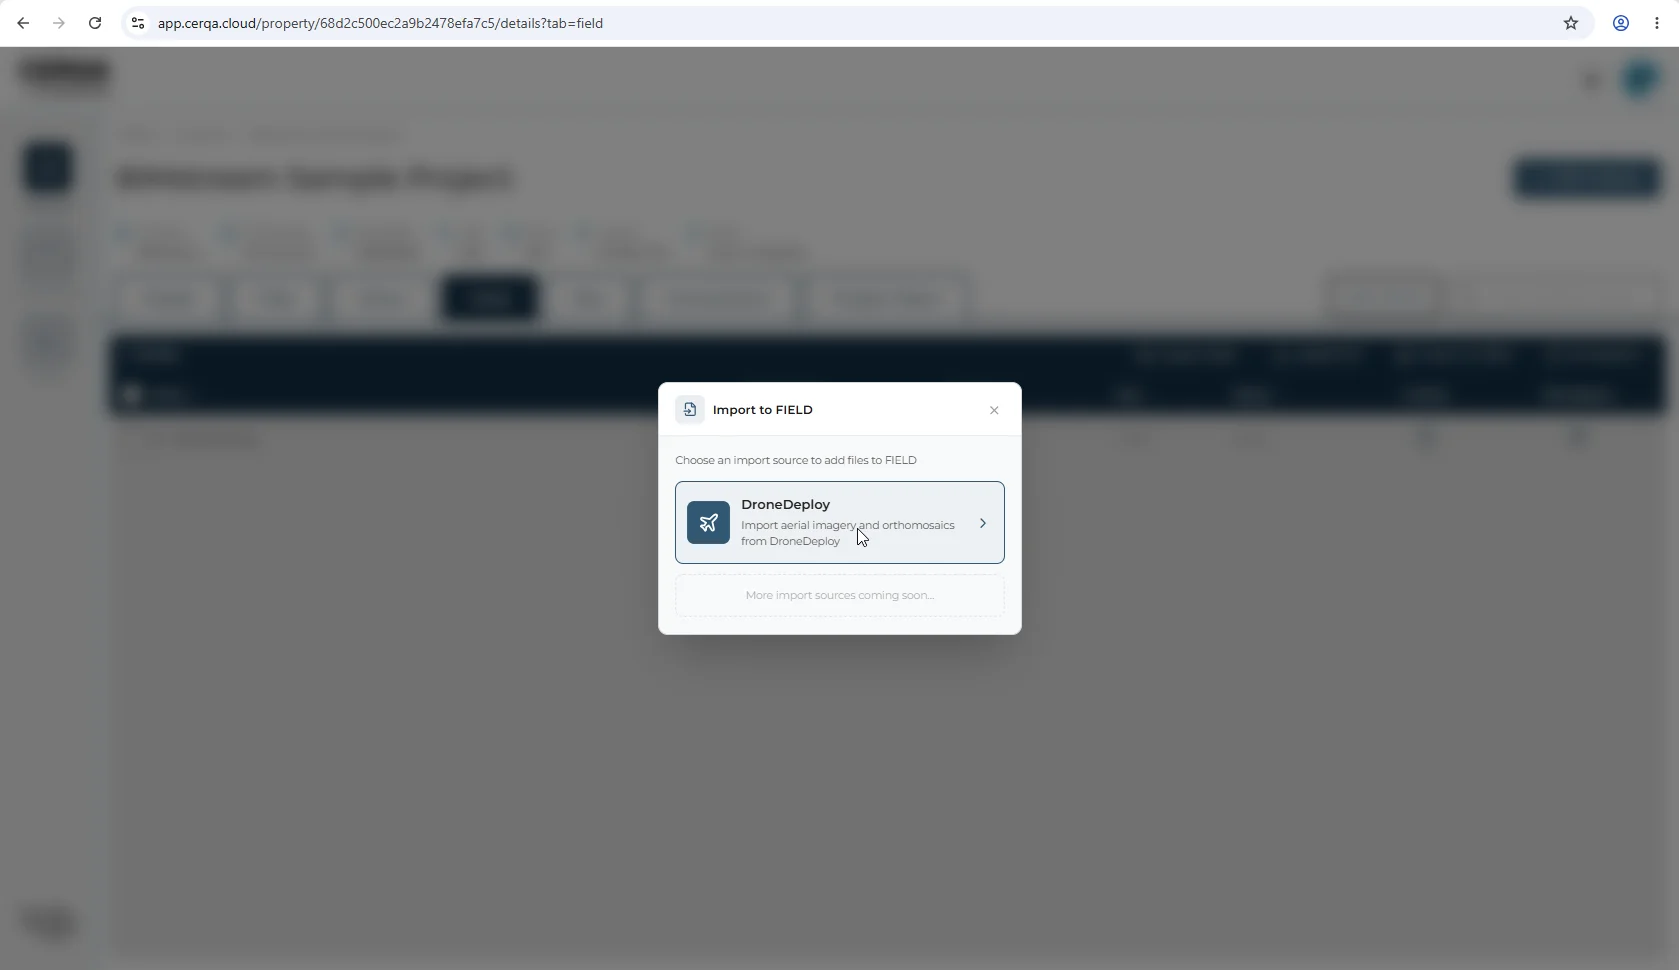
The import flow has four moments:
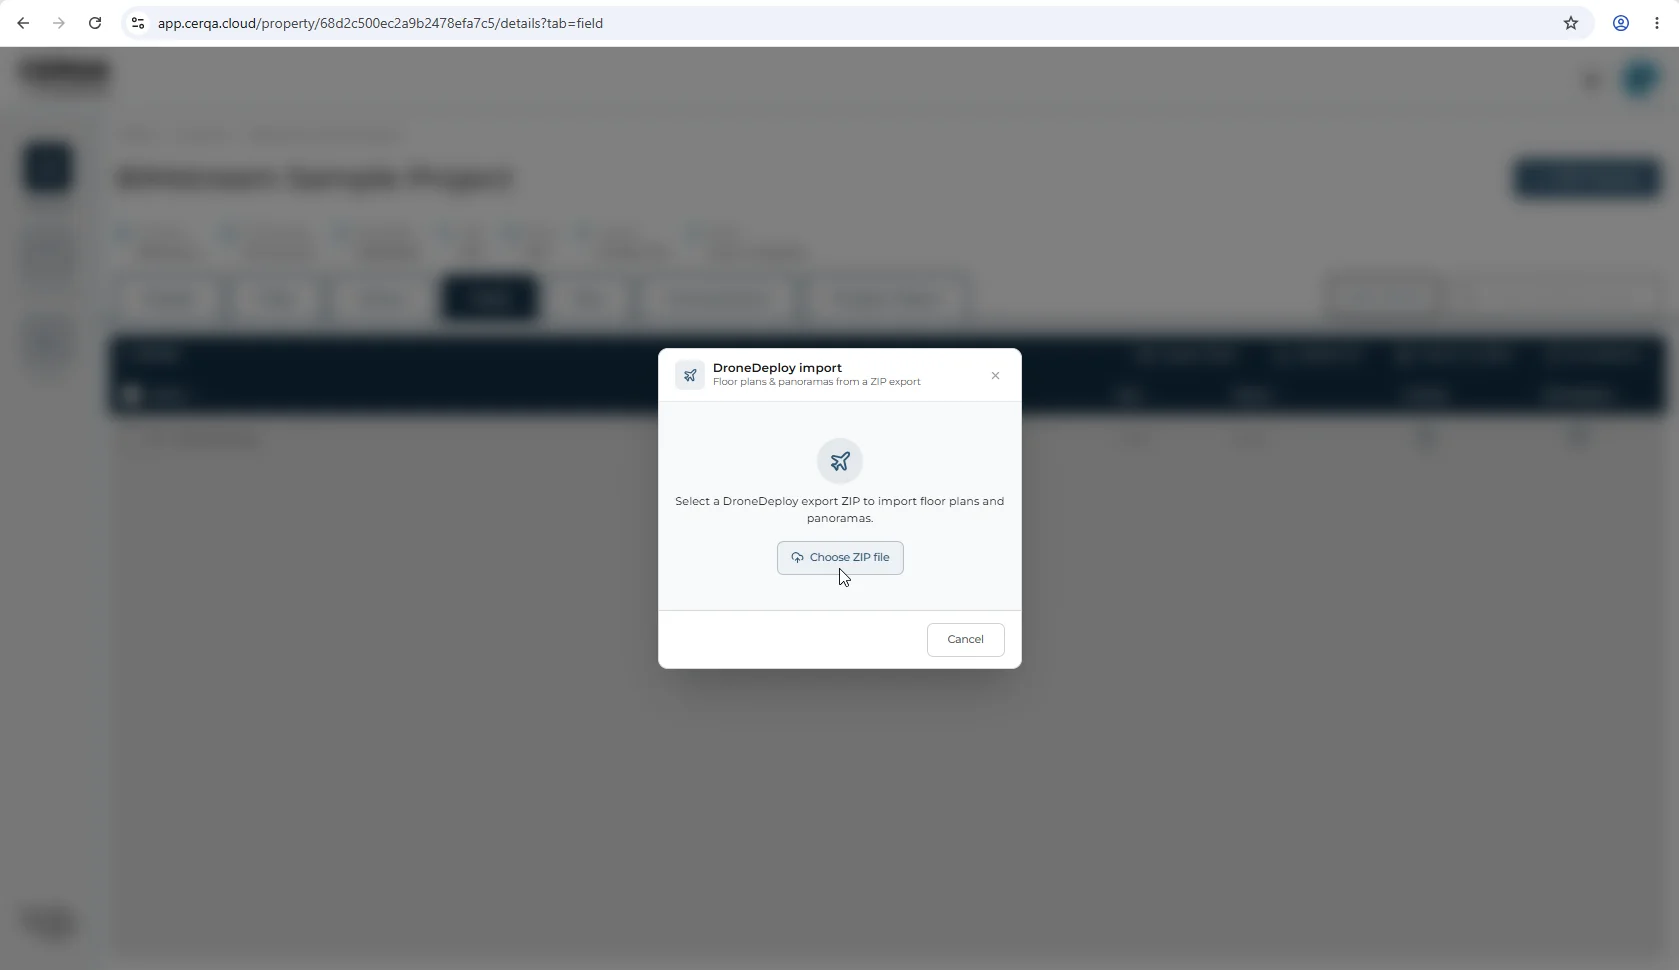
- 1Click "Import DroneDeploy" on the Field tab - On the property's Field tab, click the Import DroneDeploy button. A modal titled "DroneDeploy import" opens.
- 2Select the DroneDeploy ZIP - In the modal, pick the DroneDeploy ZIP export from your machine. CERQA accepts the ZIP and begins processing.
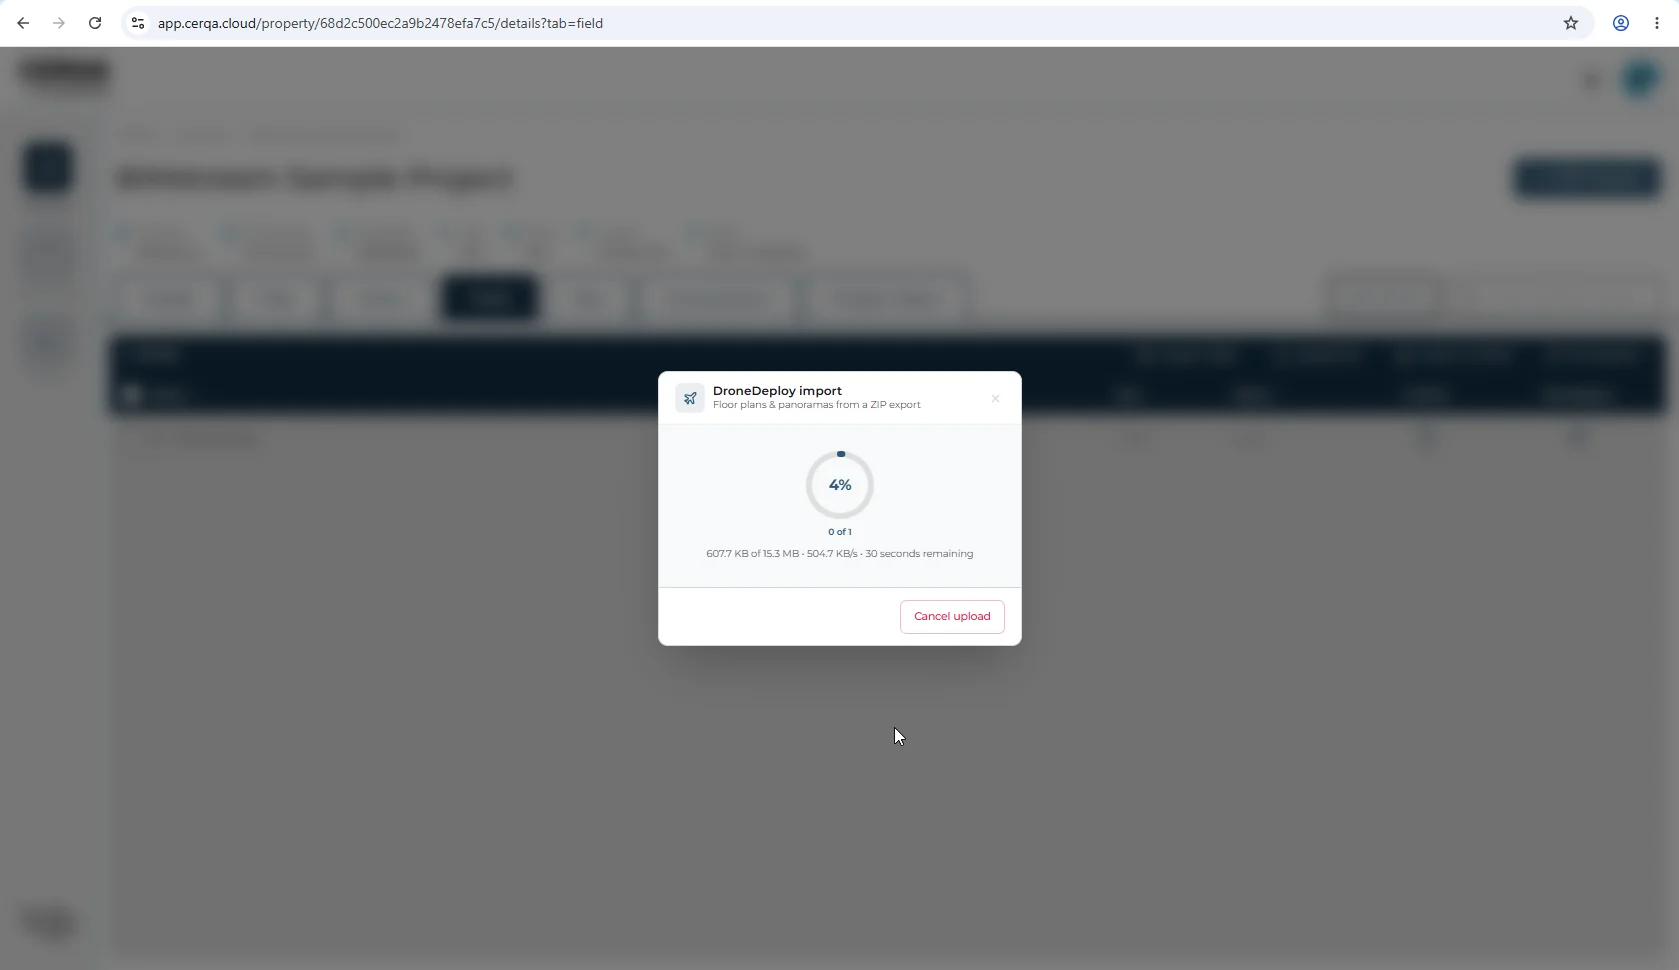
- 3Watch the processing status - A dedicated processing-status component reports progress while CERQA extracts and ingests the floor plans and panoramas. You don't have to keep the modal open; processing runs on CERQA's servers.
- 4Floor plans and panoramas land on the Field tab - On completion, the imported floor plans are accessible alongside Field pins on that property, and the 360 panoramas are linked to the property's walkthrough capture. Distinct from the 3D photogrammetry outputs that Path A produces on the Site tab.
What you get from Path B
Floor plans (linked to the Field pin surface) and 360 panoramas (linked to the property's walkthrough capture). This is distinct from the 3D photogrammetry mesh that Path A produces. If your survey needs both, run both paths on the same property; the two output sets coexist without conflict.
Reviewing the ingested survey
Where you review the ingested survey depends on which path you ran:
- Site review (Path A outputs). Open the Site tab to view the 3D Tiles or the reconstructed output. Rotate, zoom, and slice the 3D model directly.
- Field review (Path B outputs). Open the Field tab to view the imported floor plans and panoramas alongside Field pins. For the full Field-tab walkthrough, see FL-01 - Field overview.
Cross-referencing with the 3D model
Either output set can be cross-referenced with the BIM model on the property's Model tab. Open the Model tab alongside Site (for Path A) or alongside Field (for Path B) to compare the survey result against the design model.
For the Site-tab surface itself, see CA-10 - Uploading aerial models (the complete home for Site-tab figures). For the Field-tab surface itself (floor plan with pins, click-to-360, split view, Filter Pins by Date), see FL-01 - Field overview. For the full Model-tab walkthrough (navigation, BIM Intelligence panels, saved views), see M-01 - 3D Model Viewer overview.
Measurement on the BIM viewer
When you're cross-referencing a drone survey against the BIM model on the Model tab, you can take point-to-point measurements directly in the viewer, and the section box handles cutaways and isolating regions of the model.
For numeric distance overlaid on a 360 reality view, you can also use the Vision-side measurement suite. See VS-03 - Vision annotations and measurements for the four-mode Beta measurement workflow. For the BIM-side section box and measurement tools, see M-02 - Section tools.